Automate real estate marketing with Canva
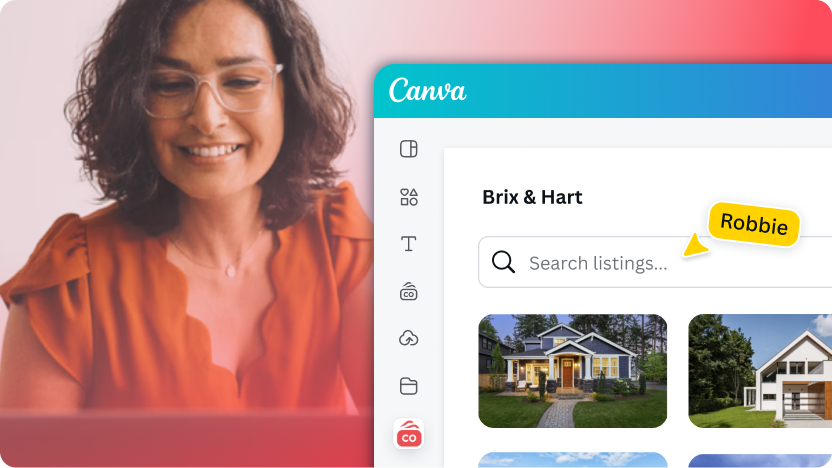
Real estate teams spend hours creating property brochures, social posts, and listing materials. By integrating Canva into your platform using the Canva REST APIs, you can automate this process, letting agents generate on-brand marketing materials directly from your platform.
This app uses Brand Templates and Autofill, which require a Canva Enterprise(opens in a new tab or window) subscription. See the Autofill guide for details on requesting development access.
This guide walks you through a reference demo that shows these integration patterns in action. You'll see how to connect your platform to Canva, autofill templates with property data, and streamline your marketing workflows.
The Realty demo is a reference implementation for learning purposes. Use it to understand the integration patterns you can apply to your own platform.
What you can automate
With the REST APIs, your real estate platform can:
- OAuth authentication: Securely connect a user's Canva account to your platform.
- Brand templates: Fetch and display templates from a user's Canva Brand Kit.
- Autofill: Automatically populate templates with property data, agent information, and images.
- Design creation: Generate Canva designs programmatically from your platform.
- Return navigation: Allow users to return to your platform after editing in Canva.
Prerequisites
Before starting, ensure you have:
- Node.js v24 or later
- npm v11
- A Canva account (preferably with access to Canva Enterprise(opens in a new tab or window) for Brand Templates and Autofill)
Step 1: Create an app and enable the REST APIs
-
Open Your apps(opens in a new tab or window) in the Developer Portal and click Create an app.
-
In the modal:
- Enter an App name, using 18 characters or fewer.
- Under Who can use your app?, choose Public or Private. Private is only available on a Canva Enterprise plan. This can't be changed later.
- Accept the Developer Terms.
- Click Create app.
You land on the app's Overview page, which summarizes the app and links to the setup for each surface.
-
Go to Outside Canva and click Start integrating.
Until you do this, Outside Canva has no Configuration or Redirect URLs beneath it. Canva creates an auth client for your app and takes you to Configuration.
-
On Outside Canva > Configuration, under Integration methods, check that Canva REST APIs is turned on.
The Scopes, REST API version, and Return navigation settings are all inside this section, so they're only available while it's turned on.
-
On the same page, under Credentials:
- Note the Client ID. You'll need it to request an access token.
- Click Generate secret, then store the secret somewhere secure. It isn't shown again.
Treat the client secret like a password. Don't commit it to source control, and don't include it in a client-side bundle.
-
On Outside Canva > Configuration, under Scopes, enable:
asset: Read and Writebrandtemplate:content: Readbrandtemplate:meta: Readdesign:content: Read and Writedesign:meta: Readprofile: Read
-
On Outside Canva > Redirect URLs, set URL 1 to:
http://127.0.0.1:3001/oauth/redirect -
On Outside Canva > Configuration > Return navigation, turn on the toggle and set the Return URL to:
http://127.0.0.1:3001/return-nav
Step 2: Clone and configure the demo
The starter kits for apps inside Canva (previously known as the Apps SDK) and the Canva REST APIs (previously known as the Connect APIs) are being combined in a future update. The steps here continue to work until that happens, and will be updated in the future.
-
Clone the starter kit for the Canva REST APIs(opens in a new tab or window):
git clone https://github.com/canva-sdks/canva-connect-api-starter-kit.gitcd canva-connect-api-starter-kitSHELL -
Install dependencies:
npm installcd demos/realtySHELL -
Configure your environment variables in the
demos/realty/.envfile:DATABASE_ENCRYPTION_KEY: Automatically generated during installation. If missing, runnpm run generate:db-key.CANVA_CLIENT_ID: Your Client ID from Step 1.CANVA_CLIENT_SECRET: Your client secret from Step 1.
Step 3: Set up brand templates
To use the autofill functionality, you need Brand Templates in your Canva account:
- Open the sample Brand Template deck(opens in a new tab or window).
- Click Use template to add the templates to your Canva account.
- Ensure the templates are saved to your Brand Kit.
Step 4: Run the demo
-
Start the application:
npm startSHELL -
Open http://127.0.0.1:3000(opens in a new tab or window) in your browser.
Access the app using 127.0.0.1:3000, not localhost:3000, to avoid CORS errors.
Using the demo
- Click Connect to Canva to authenticate with your Canva account.
- Browse property listings on the Listings page.
- Select a property to create marketing materials.
- On the Configure design page:
- Choose a Brand Template.
- Select one or more agents (depending on the template).
- Select a property.
- Click Generate with Canva.
- The app validates the template fields, generates the design using autofill, and displays a preview.
- Click Edit in Canva to open the design in Canva's editor.
Integration patterns to apply
Use these patterns from the demo as a reference when integrating Canva into your own platform.
Authentication
The demo uses OAuth 2.0 with PKCE for secure authentication. Your backend should handle:
- Generating authorization URLs with code challenges
- Exchanging authorization codes for access tokens
- Securely storing and refreshing tokens
For more information, see Authentication.
Autofill
Autofill lets you programmatically populate Brand Template fields with your data. On your platform, you would map your own data (such as product details, customer information, or content from your database) to template placeholders.
For more information, see Autofill guide.
Return navigation
Return navigation allows users to return to your platform after editing a design in Canva. You can use this to update your UI with the edited design or trigger follow-up actions in your workflow.
For more information, see Return navigation guide.
Next steps
- Explore the REST APIs documentation to learn about additional capabilities.
- Review the Autofill guide for detailed information on populating templates.
- Check the API reference for endpoint details.
- Submit your app for review using the Submission checklist.