Canva App Scripts
@canva/app-scripts(opens in a new tab or window) is the best way to build an app that runs inside Canva. It replaces multiple dependencies, config files, and build scripts with a single package that provides everything you need to build and run your app. Maintenance is simplified and performance is greatly enhanced.
@canva/app-scripts is the package that powers the canva apps start and canva apps build Canva CLI commands. It's responsible for bundling your app's source code into the single JavaScript file that Canva loads, running your local development server, and extracting translation messages for localization.
The goal of @canva/app-scripts is that you shouldn't have to think about any of this detail. Apps created with the starter kit or a CLI template come with sensible defaults already configured for React, TypeScript, CSS modules, SVGs, and FormatJS i18n, so you can focus on your app's code instead of its build tooling.
If your app has its own webpack.config.ts and a bespoke scripts/start/ runner at its root, it isn't on @canva/app-scripts yet. This is common for apps created from an older snapshot of the starter kit or CLI template. See the migration guide to move onto @canva/app-scripts.
Using app-scripts
You don't call @canva/app-scripts directly; the Canva CLI serves as the interface:
canva apps start
Runs the local development server (see Previewing apps):
canva apps start
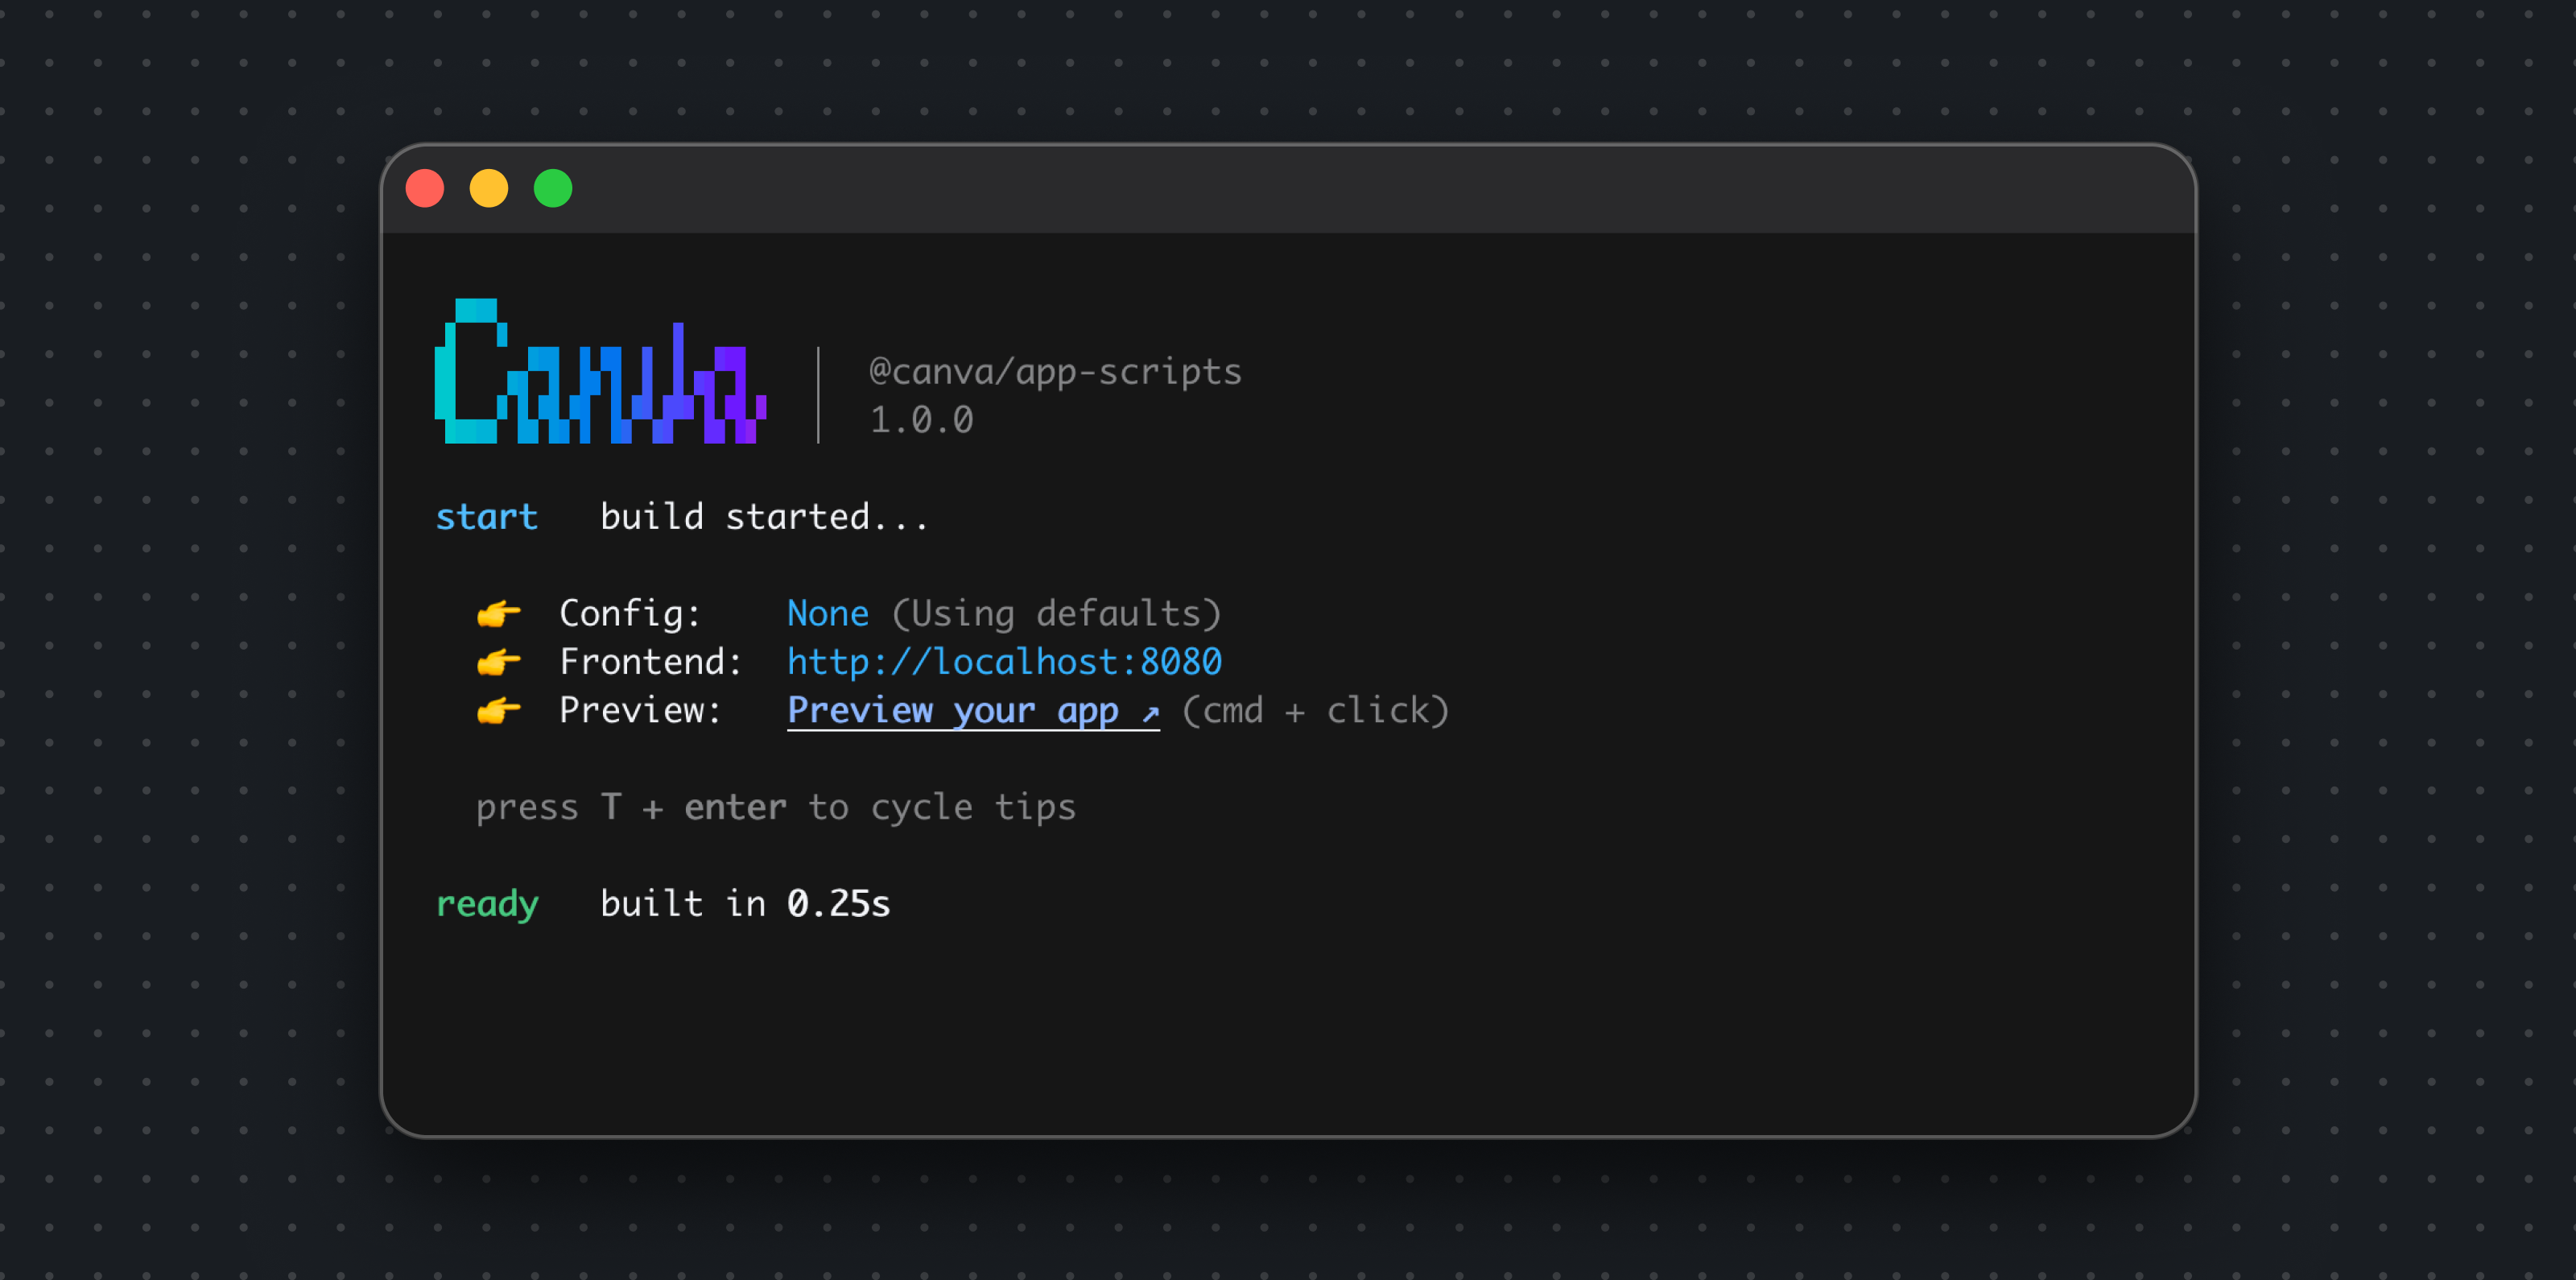
canva apps build
Produces the standalone JavaScript bundle for upload to the Developer Portal (see Bundling apps), and extracts translation messages as part of the same command:
canva apps build
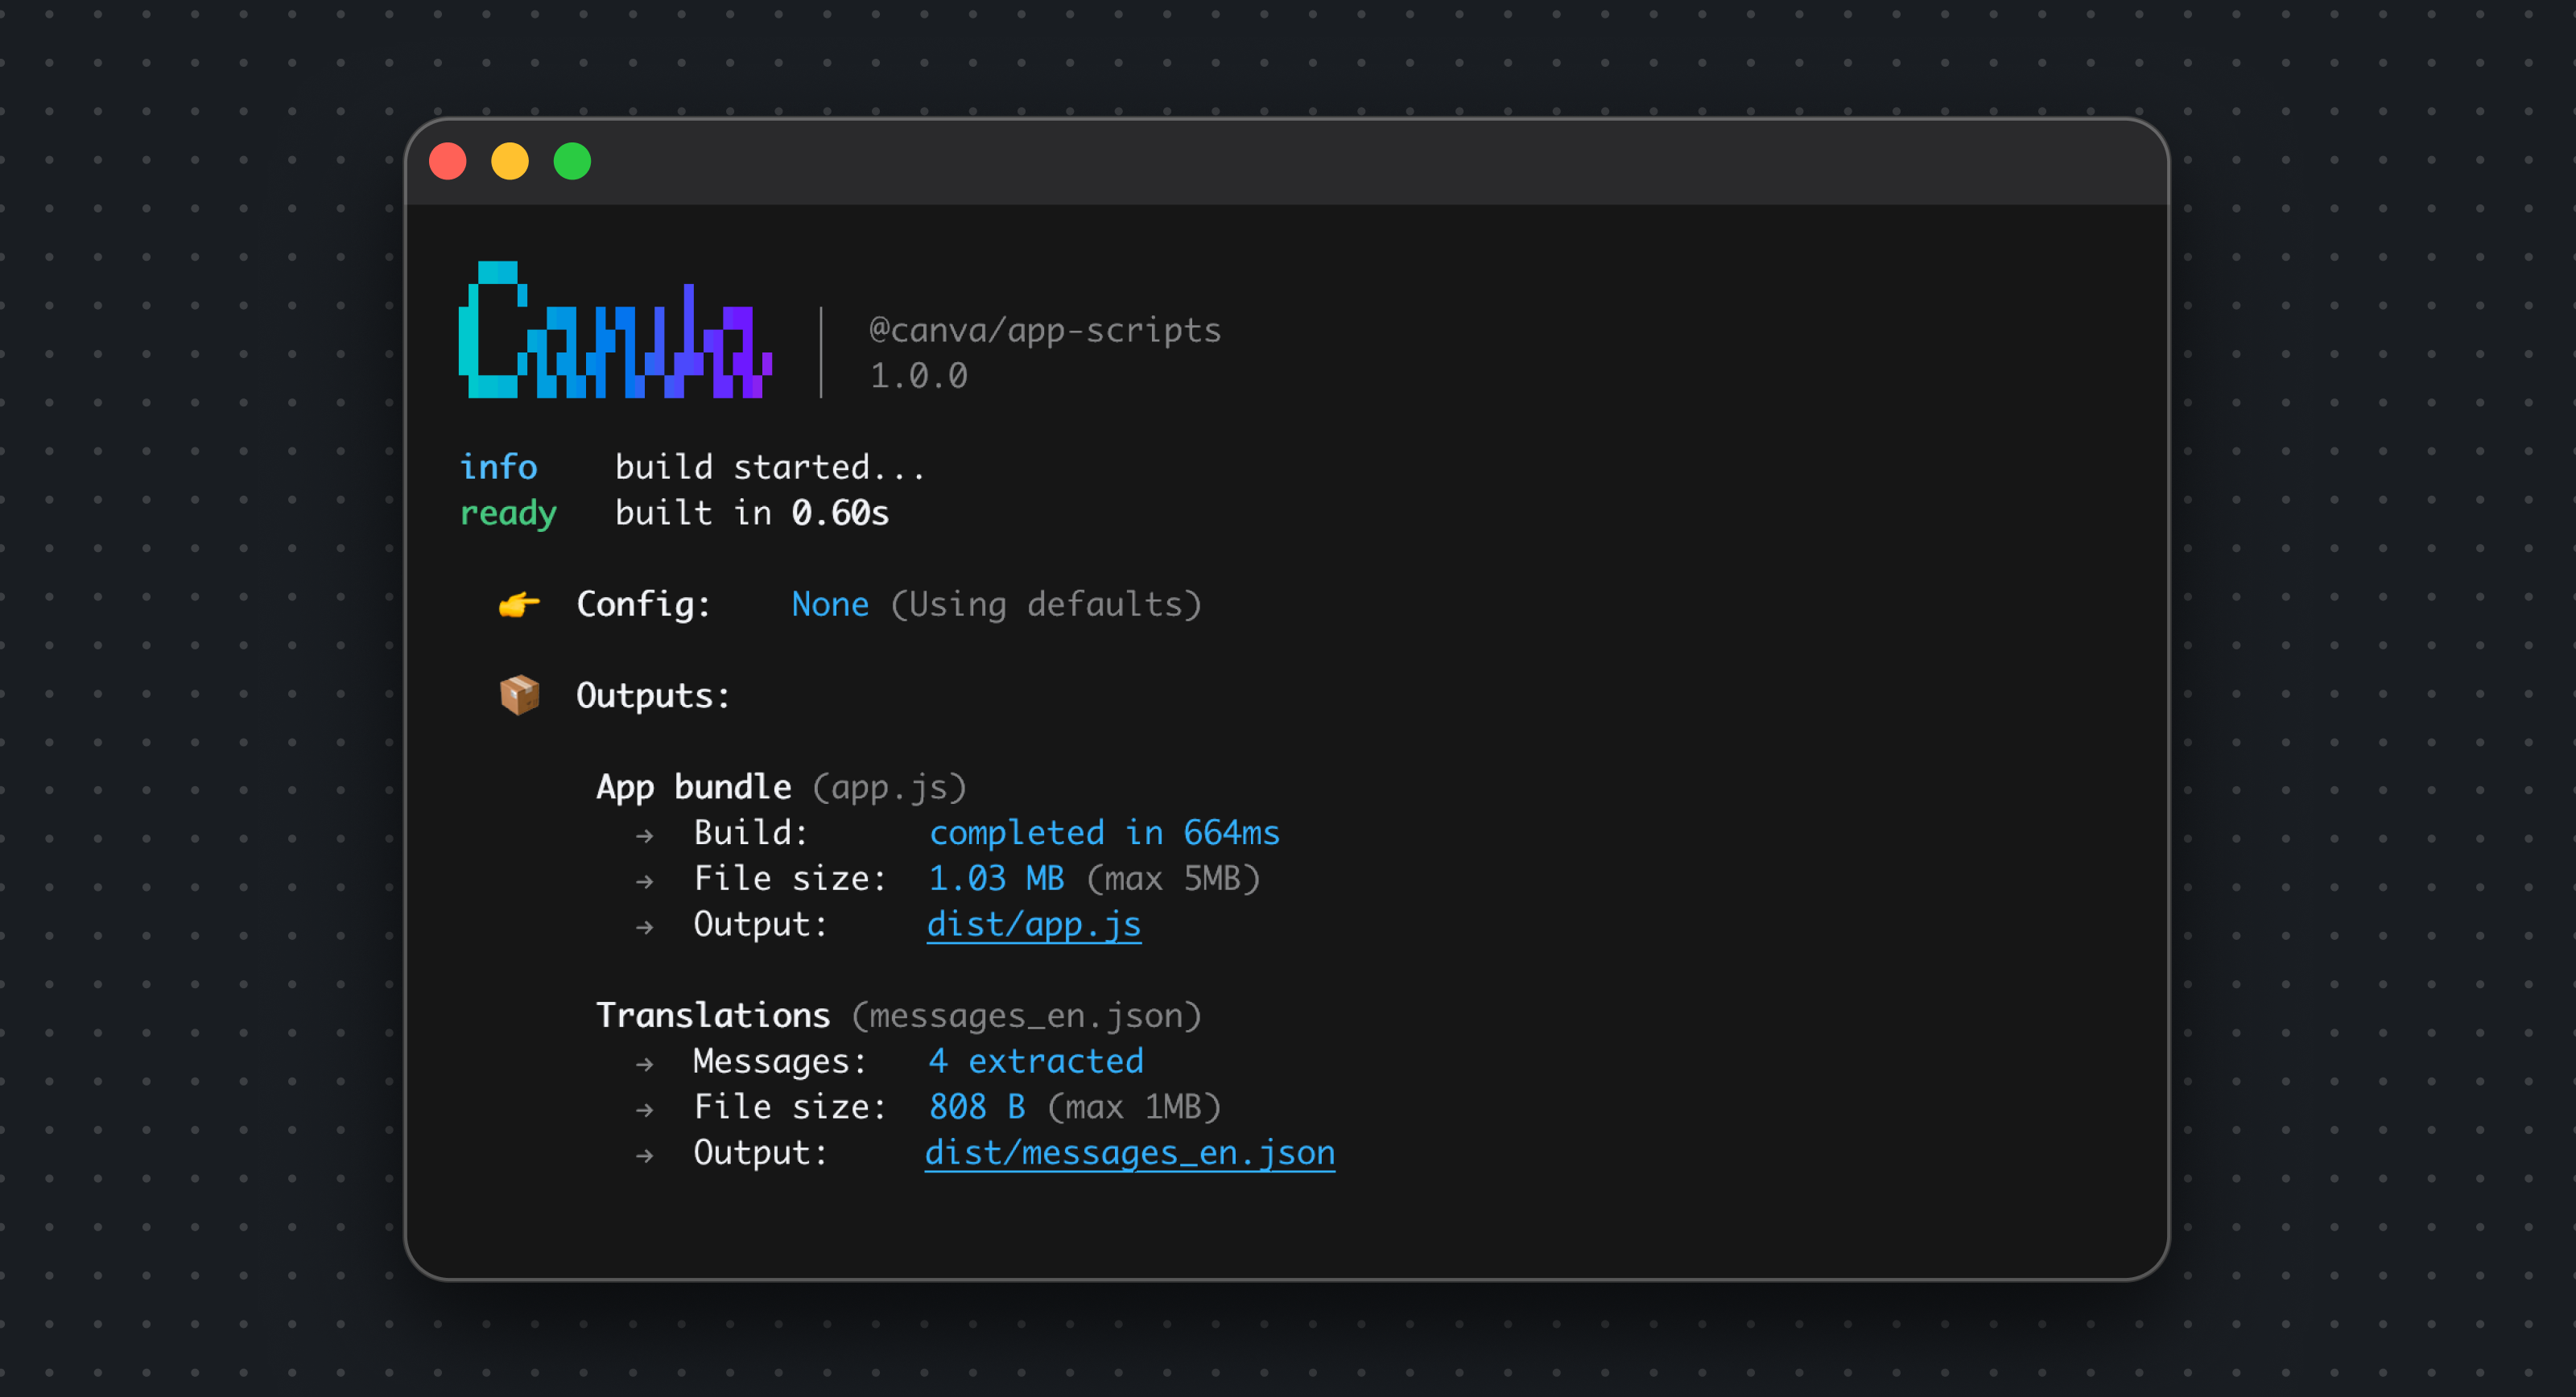
By default, @canva/app-scripts bundles with Rsbuild(opens in a new tab or window). For the full set of default values (ports, entry paths, output directories, and the complete Rsbuild/webpack configuration it applies on your behalf), see Configuration reference.
Customizing away from defaults
Most apps need no configuration at all. If you do need to change something, create a canva-app.config.ts file at your project root and export a config object using defineConfig:
// canva-app.config.tsimport { defineConfig } from "@canva/app-scripts";export default defineConfig({// your overrides});
Common reasons to add one:
Your frontend entry isn't the default
Set entry to the correct path (the default is src/index.tsx):
// canva-app.config.tsimport { defineConfig } from "@canva/app-scripts";export default defineConfig({entry: "./src/main.tsx",});
Your app has a backend
Set backend.entry to point at your backend's entry file:
// canva-app.config.tsimport { defineConfig } from "@canva/app-scripts";export default defineConfig({backend: {entry: "./backend/server.ts",},});
You need to customize the bundler, or keep using webpack
The config field is your escape hatch: a function that receives the Rsbuild configuration @canva/app-scripts resolved, and returns the configuration to use:
// canva-app.config.tsimport { defineConfig } from "@canva/app-scripts";export default defineConfig({config: (config, { mode }) => {// Tweak the resolved Rsbuild config here, then return it.return config;},});
If you'd rather use webpack instead of Rsbuild, set bundler: "webpack" explicitly. The function then receives a webpack Configuration instead:
// canva-app.config.tsimport { defineConfig } from "@canva/app-scripts";export default defineConfig({bundler: "webpack",config: (config, { mode }) => {// Tweak the resolved webpack config here, then return it.return config;},});
Next steps
- See every default value
@canva/app-scriptsapplies, and the full resolved Rsbuild/webpack config objects, in the Configuration reference. - See the full programmatic API (
build,dev,extractTranslations,defineConfig, and the config types) in the API reference.