Quickstart
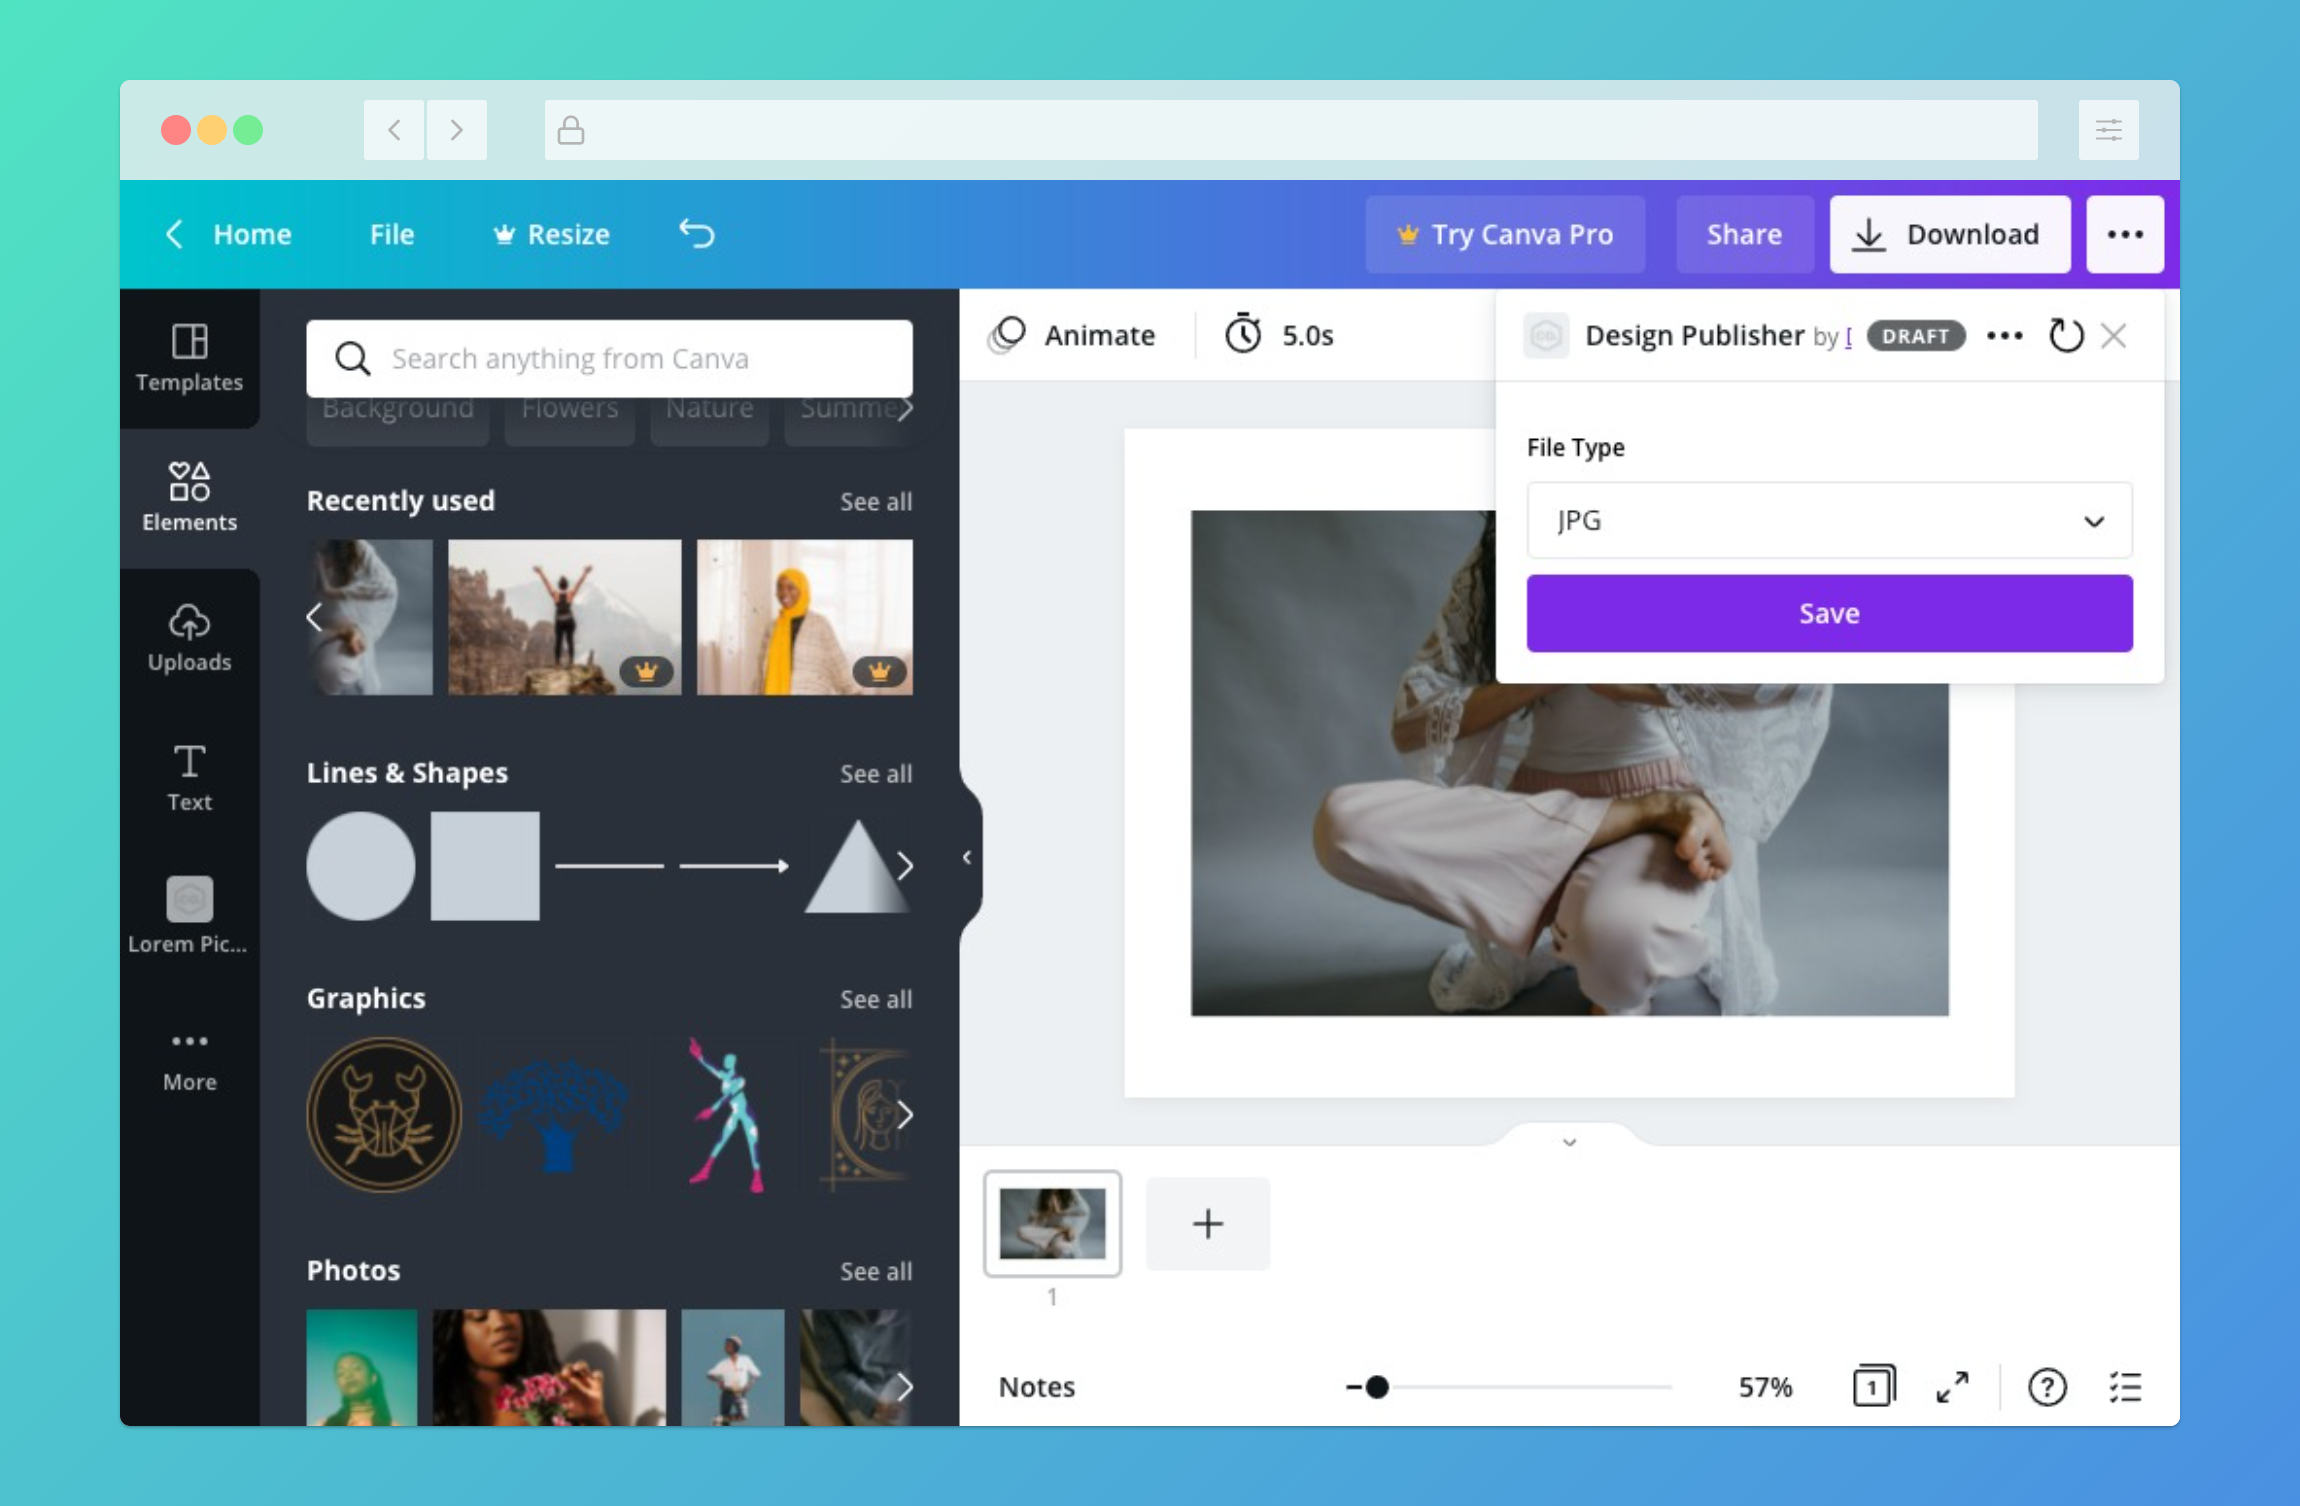
A publish extension adds a publish destination to Canva. This destination appears in the Publish menu. Users can then publish their designs to the destination platform.

This guide demonstrates how to create a publish extension that uploads the user's design to a directory on a web server.
Prerequisites
This guide assumes experience with:
- JSON APIs
- Node.js
- Express.js
You don't have to create publish extensions with Node.js or Express.js, but most of the examples in this documentation use these technologies.
Step 1: Set up a Base URL
At its most basic, a publish extension is an API that receives requests from Canva and responds with data in a format that Canva understands. Canva expects this API to have certain paths to handle different requests.
To get an API up and running as quickly as possible, we recommend using Glitch(opens in a new tab or window), a web-based editor for creating and deploying Node.js apps. Glitch is free and registration is not required.
To set up a project with Glitch:
-
Click the following button:
(opens in a new tab or window)
This opens the Glitch editor with the source code of a simple publish extension.
-
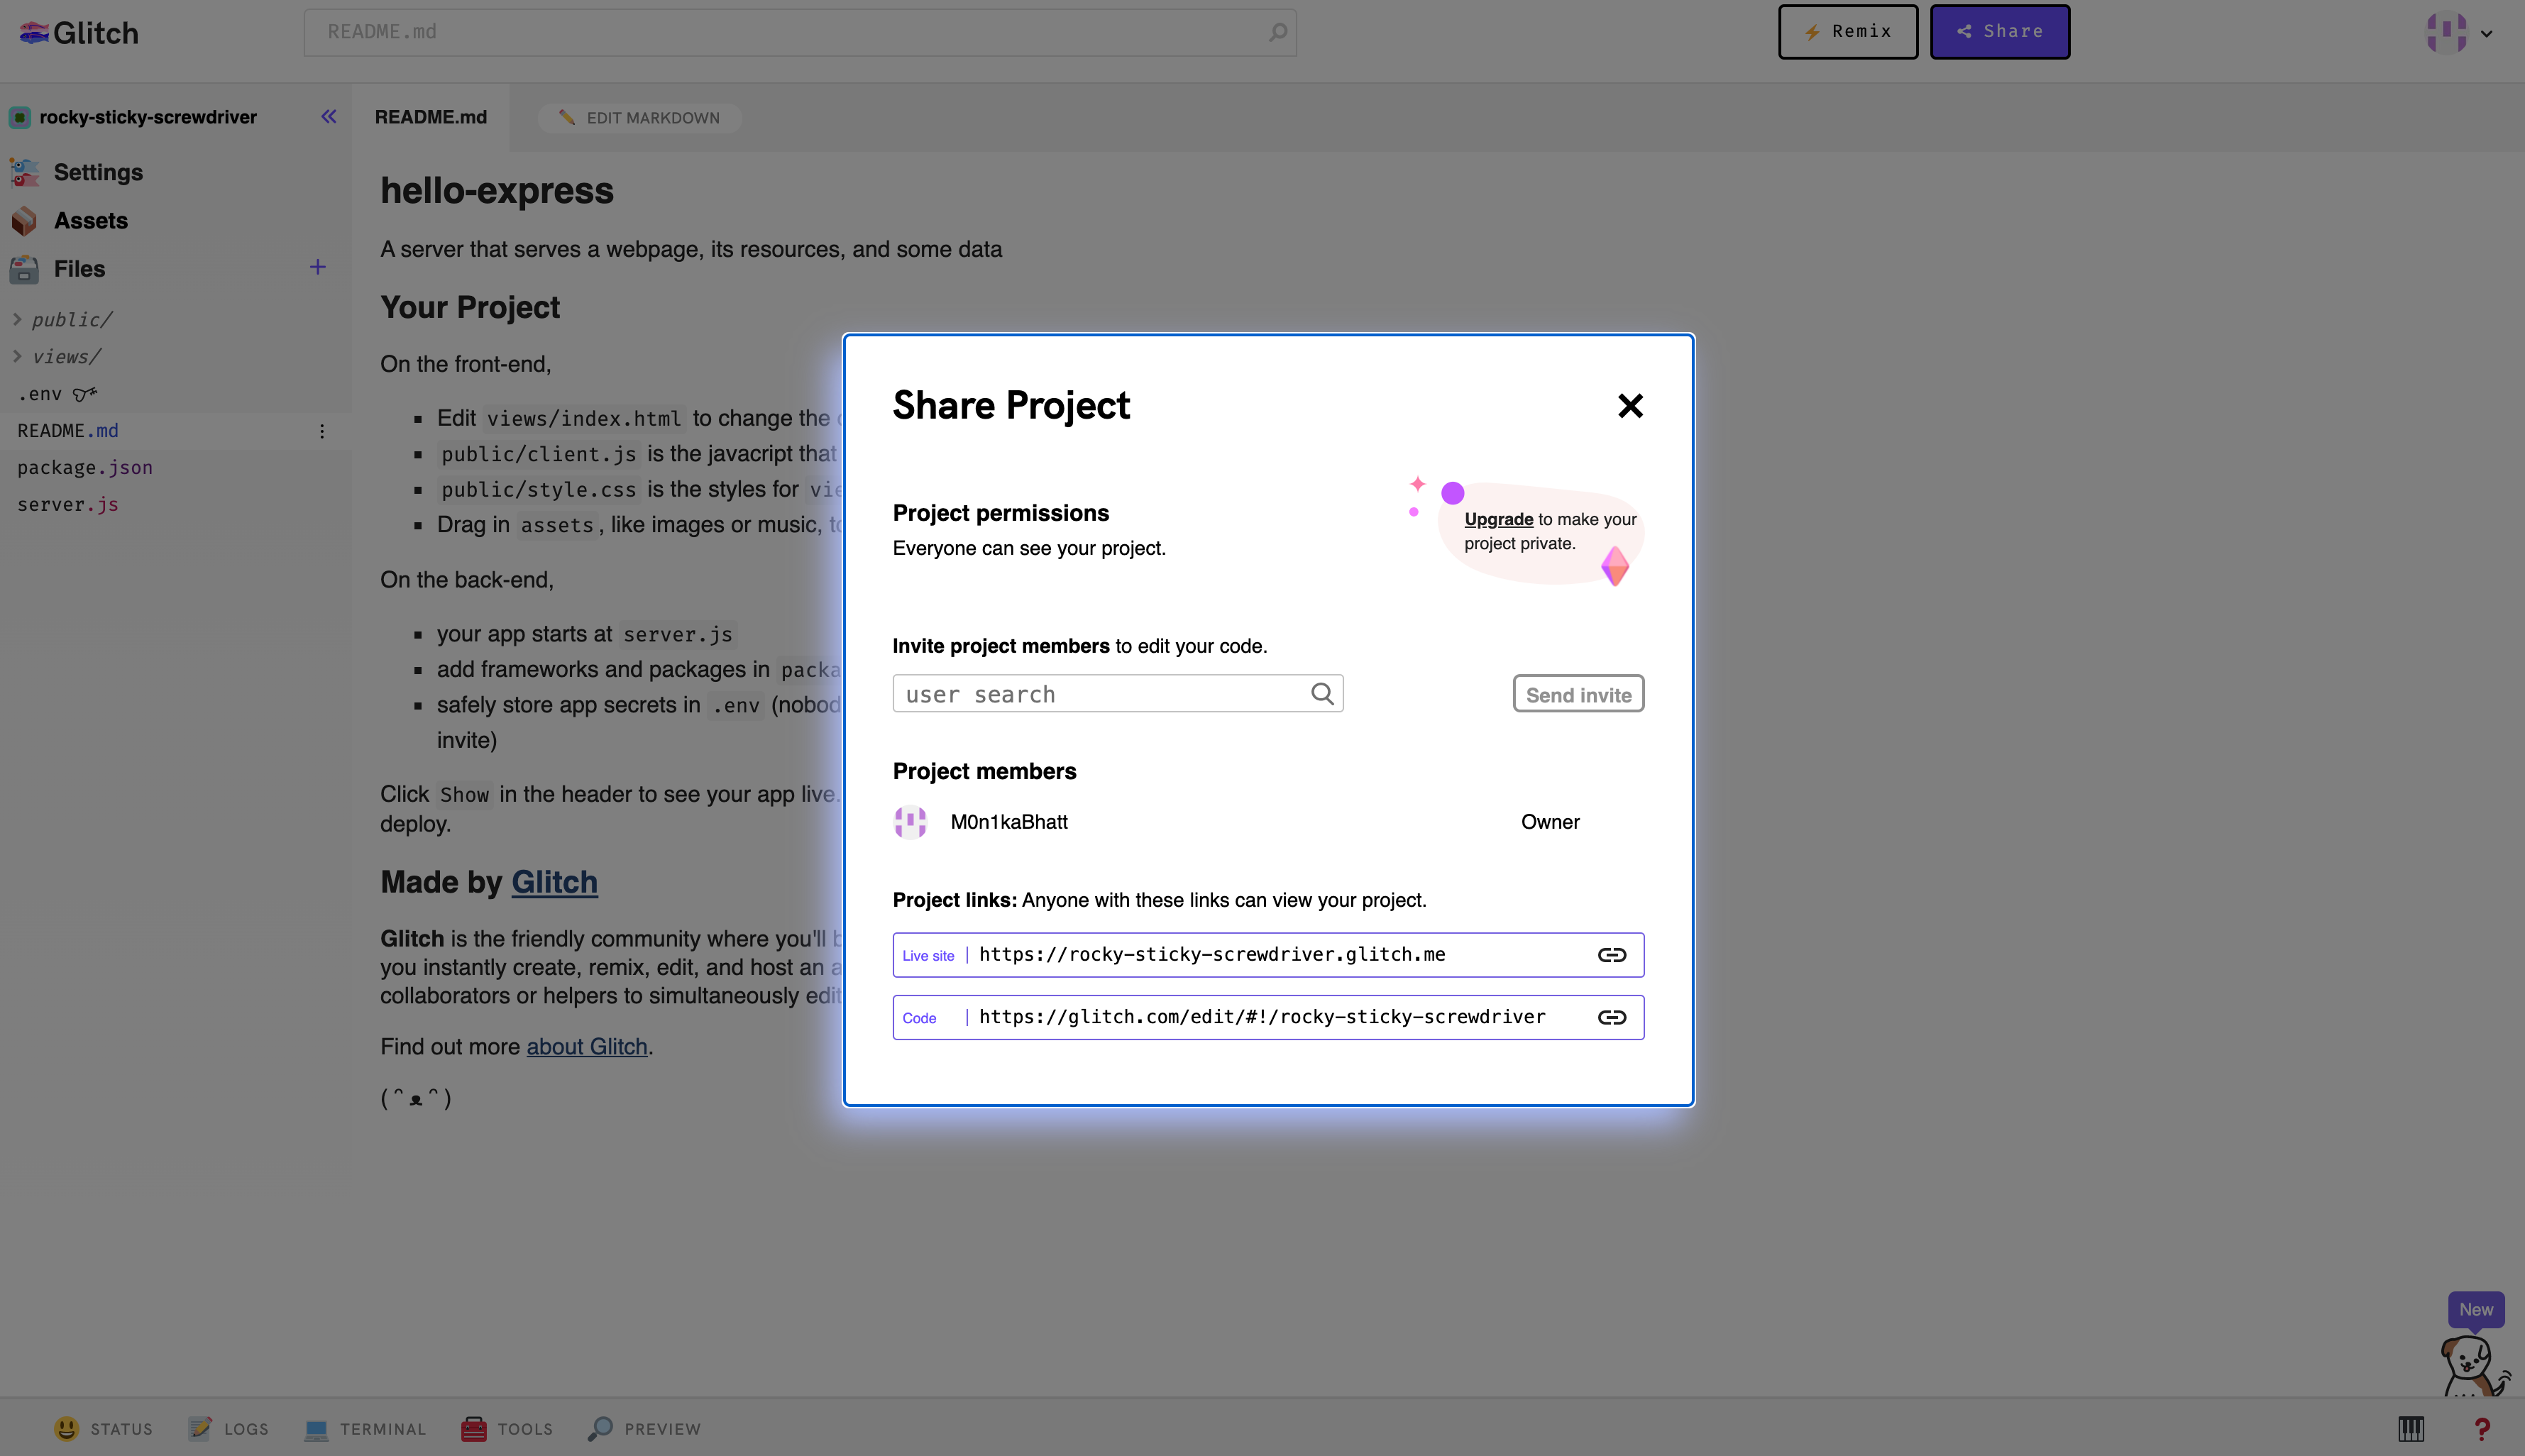
Click Share.
-
Copy the URL from the Live site field. You need this URL for a later step.

Don't use Glitch's free service for production apps: it's slow and the servers hibernate after a few minutes of inactivity.
Step 2: Create an app via the Developer Portal
- Log in to the Developer Portal(opens in a new tab or window).
- Navigate to Your integrations.
- Click Create an app.
- Choose a target audience for the app. (The default option is Everyone.)
- Click Next.
- Select Publish designs.
- Click Next.
- Click Create app.
Step 3: Configure the publish extension
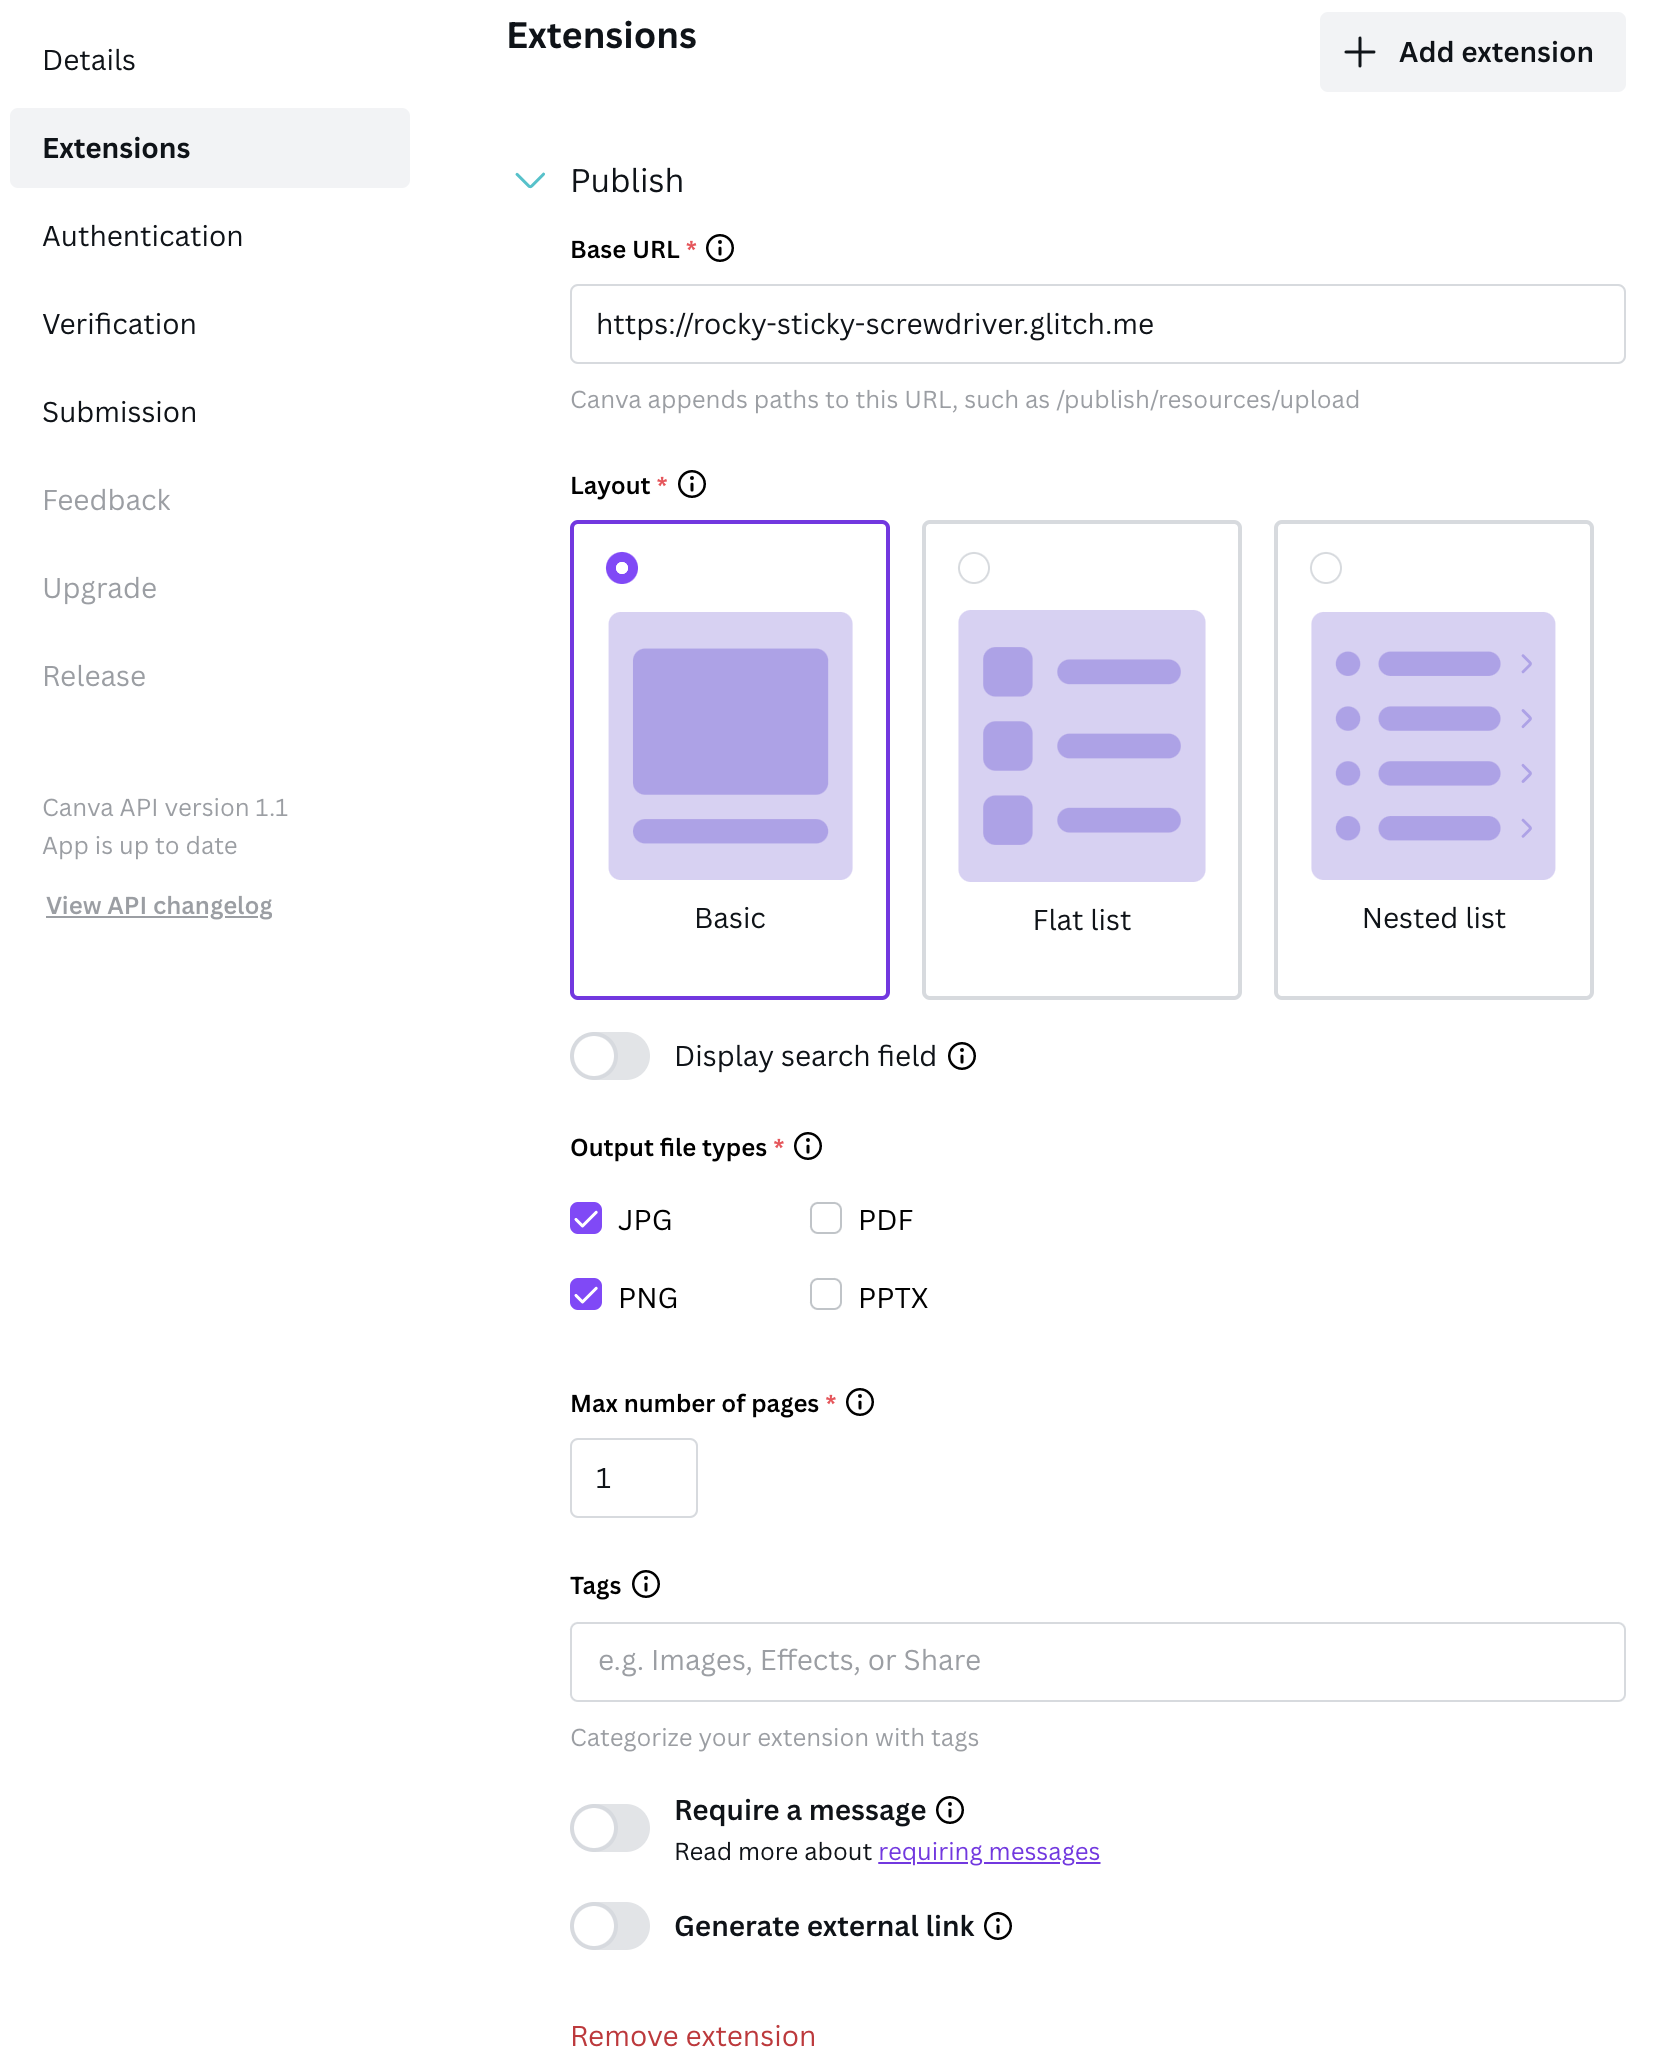
- Paste the Live site URL from Glitch into the Base URL field.
- For the Layout option, select Basic.
- For the Output file types option, select JPG and PNG.
- For the Max number of pages field, enter a value of 1.
To learn about the available layouts, see Layouts. For guidelines on choosing the layout that's most appropriate for the destination platform, see Choose the best layout.

Canva automatically saves changes to apps. You'll see a warning if you try to navigate away from the Developer Portal before your changes are saved.
Step 4: Preview the extension in the Canva editor
- Click Preview.
- Select the extension from the dropdown list.
- Click Use.
When a user publishes their design by clicking the extension's Save button, Canva sends a POST request to the following endpoint:
<base_url>/publish/resources/upload
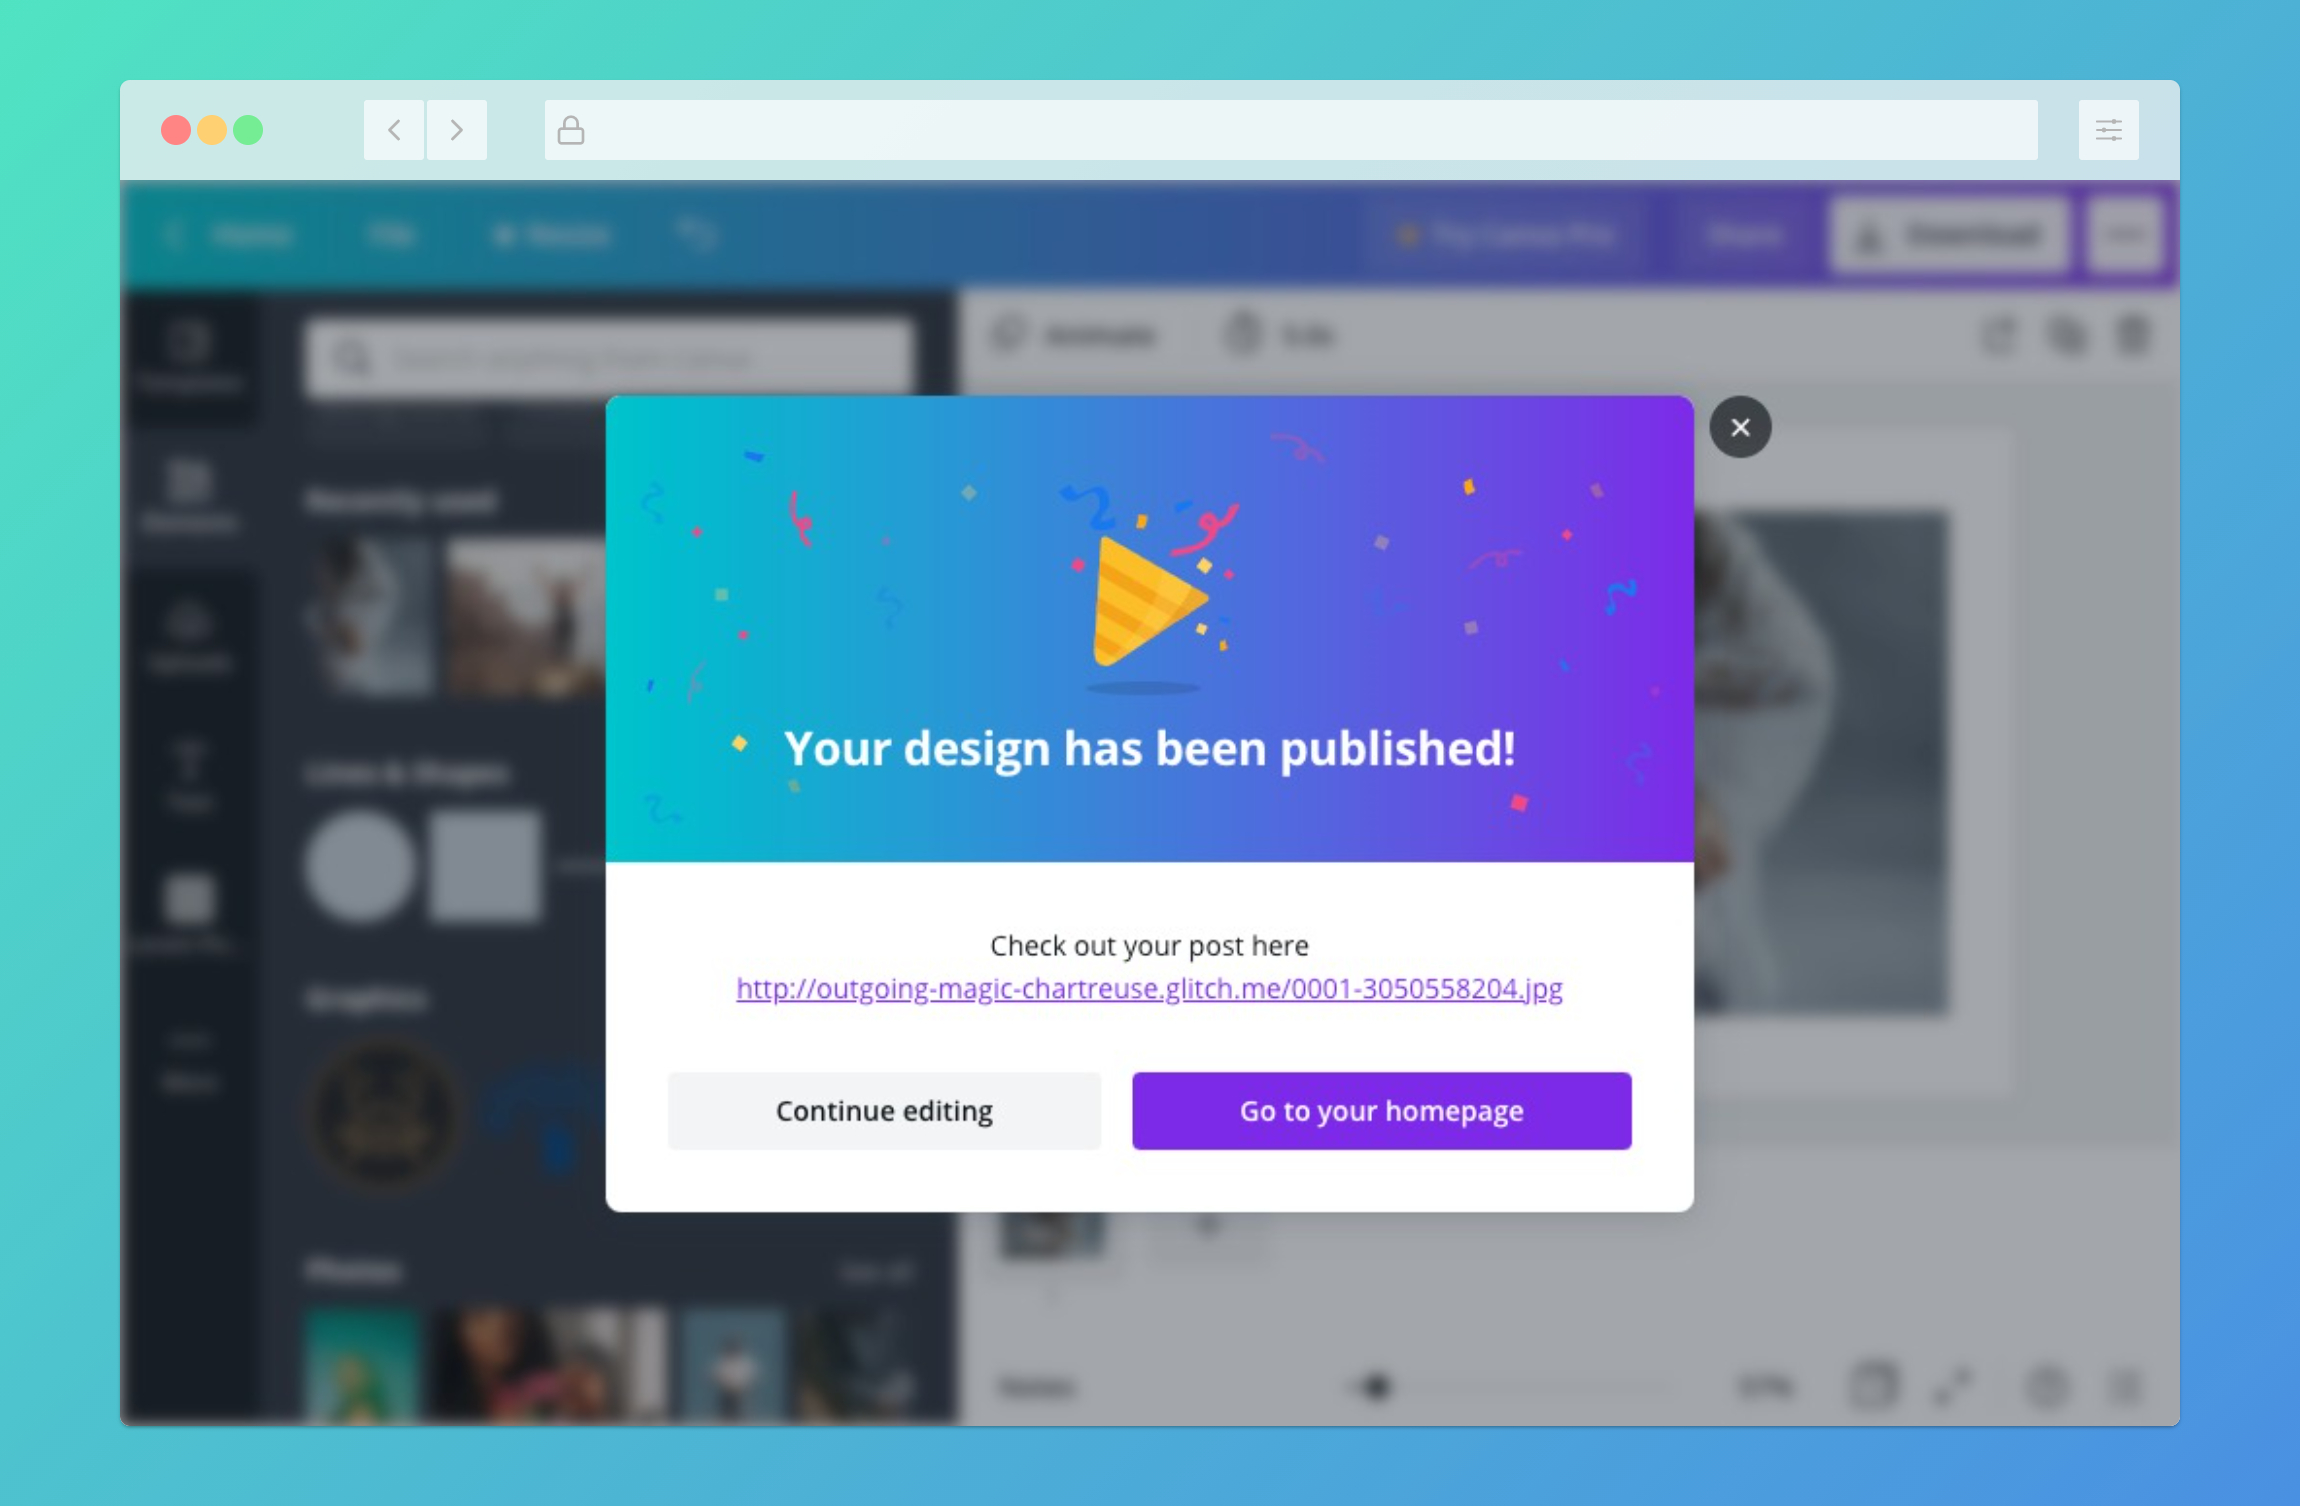
This endpoint uploads the user's design to the web server and responds with a URL that lets users view the published design.

You only have to click the Use button when using an app for the first time. On return visits, the app immediately loads.
Next steps
This guide has only scratched the surface of what's possible with publish extensions.
To learn more, refer to the following guides:
You can also create a support ticket(opens in a new tab or window) if you need additional help.
Example
const express = require("express");const fs = require("fs-extra");const jimp = require("jimp");const path = require("path");const url = require("url");const app = express();app.use(express.json());app.use(express.static("public"));app.post("/publish/resources/upload", async (request, response) => {// Ensure the "public" directory existsawait fs.ensureDir(path.join(__dirname, "public"));// Get the first asset from the "assets" arrayconst [asset] = request.body.assets;// Download the assetconst image = await jimp.read(asset.url);const filePath = path.join(__dirname, "public", asset.name);await image.writeAsync(filePath);// Respond with the URL of the published designresponse.send({type: "SUCCESS",url: url.format({protocol: request.protocol,host: request.get("host"),pathname: asset.name,}),});});app.listen(process.env.PORT || 3000);