Basic layout
A publish extension adds a publish destination to Canva. Users can then publish their design to this destination via Canva's Publish menu.
This tutorial explains how to create a publish extension that uses the Basic layout. This layout is intended for platforms that don't organize content into folders, such as social media platforms with a single feed for each user (for example, Twitter or Instagram).
To learn about the other layouts available for publish extensions, see Layouts.
Step 1: Set up a Base URL
In the Developer Portal, publish extensions have a Base URL field. This indicates that the extension must provide the URL of a server that can receive and respond to HTTP requests from Canva.
To set up a Base URL, refer to either of the following guides:
You can use any programming language, framework, or architecture to handle requests from Canva, but the examples in this documentation use Express.js(opens in a new tab or window).
Step 2: Set up the required endpoints
A publish extension that uses the Basic layout must support the following endpoint:
The following snippet demonstrates how to set up these endpoints with Express.js:
const express = require("express");const fs = require("fs-extra");const jimp = require("jimp");const path = require("path");const url = require("url");const app = express();app.use(express.json());app.use(express.static("public"));app.post("/publish/resources/upload", async (request, response) => {// code goes here});app.listen(process.env.PORT || 3000);
This snippet also assumes the following Node.js dependencies are installed:
express(opens in a new tab or window)fs-extra(opens in a new tab or window)jimp(opens in a new tab or window)
Step 3: Create an app via the Developer Portal
- Log in to the Developer Portal(opens in a new tab or window).
- Navigate to the Your integrations page.
- Click Create an app.
- In the App name field, enter a name for the app.
- Agree to the Canva Developer Terms(opens in a new tab or window).
- Click Create app.
Step 4: Add a publish extension to the app
- Select Publish.
- In the Base URL field, enter the URL of the server.
- For the Layout option, select Basic.
- For the Output file types option, select the types of files a user can publish to the destination platform. The example in this tutorial requires the file types to be JPG and PNG.
- For the Max number of pages field, enter the maximum number of pages that a user can publish of their design. The example in this tutorial requires the number of pages to be 1.
Any changes to the form save automatically.
Step 5: Upload the user's design
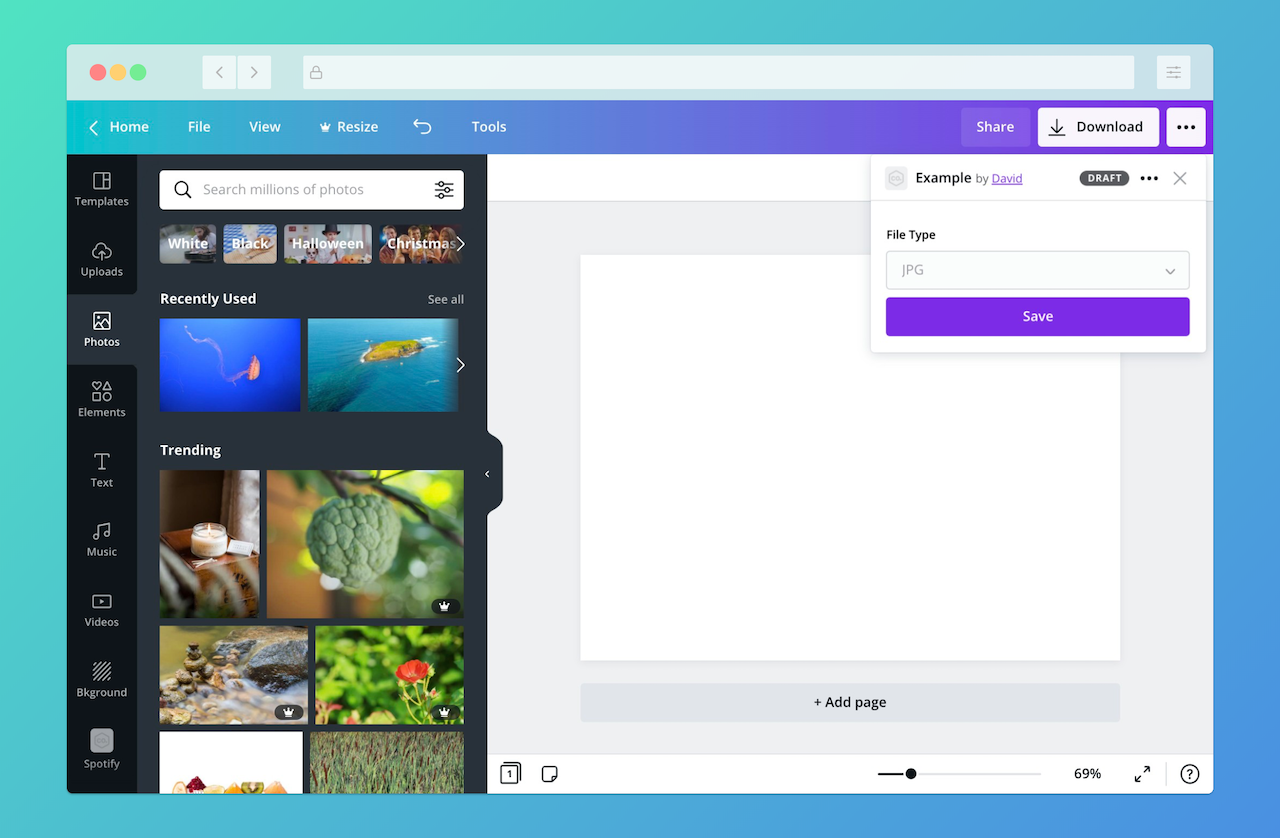
When a user opens a publish extension, Canva displays a handful of options and a Save button. The available options depend on how the extension is configured.
When the user clicks the Save button, Canva sends a request to the extension. The request body includes an array of assets. Each asset has a url, which the extension must use to download the assets to the destination platform.
The following snippet demonstrates how to download an asset to the public directory and create a URL that lets the user view the published asset:
app.post("/publish/resources/upload", async (request, response) => {// Ensure the "public" directory existsawait fs.ensureDir(path.join(__dirname, "public"));// Get the first asset from the "assets" arrayconst [asset] = request.body.assets;// Download the assetconst image = await jimp.read(asset.url);const filePath = path.join(__dirname, "public", asset.name);await image.writeAsync(filePath);// Respond with the URL of the published designresponse.send({type: "SUCCESS",url: url.format({protocol: request.protocol,host: request.get("host"),pathname: asset.name,}),});});
If the user publishes their design as an image, Canva provides each page of the design as a separate asset. Otherwise, Canva provides the entire design as a single asset.
For guidelines on uploading the assets, see Upload the user's design to the destination platform.
If you'd like to release your app to Canva's users, the url property must point to a page that lets users view and action the published design in context on the destination platform. For guidelines on providing a publish link, see Provide a link to the published design.
Example
const express = require("express");const fs = require("fs-extra");const jimp = require("jimp");const path = require("path");const url = require("url");const app = express();app.use(express.json());app.use(express.static("public"));app.post("/publish/resources/upload", async (request, response) => {// Ensure the "public" directory existsawait fs.ensureDir(path.join(__dirname, "public"));// Get the first asset from the "assets" arrayconst [asset] = request.body.assets;// Download the assetconst image = await jimp.read(asset.url);const filePath = path.join(__dirname, "public", asset.name);await image.writeAsync(filePath);// Respond with the URL of the published designresponse.send({type: "SUCCESS",url: url.format({protocol: request.protocol,host: request.get("host"),pathname: asset.name,}),});});app.listen(process.env.PORT || 3000);