Creating tables
Apps can add tables to a user's design. These tables are a type of element, which means users can manipulate them as they would any other kind of element.
If you want to bring external data into your designs or keep it in sync, we recommend you use the Data Connector Intent instead of the Tables API. The Tables API is for programmatically managing table data and structure, not for powering in-design data workflows. To discuss special circumstances, contact Developer support(opens in a new tab or window).
Features
In addition to creating tables, apps can:
- Set the text content of table cells.
- Set the background color of table cells.
- Merge table cells.
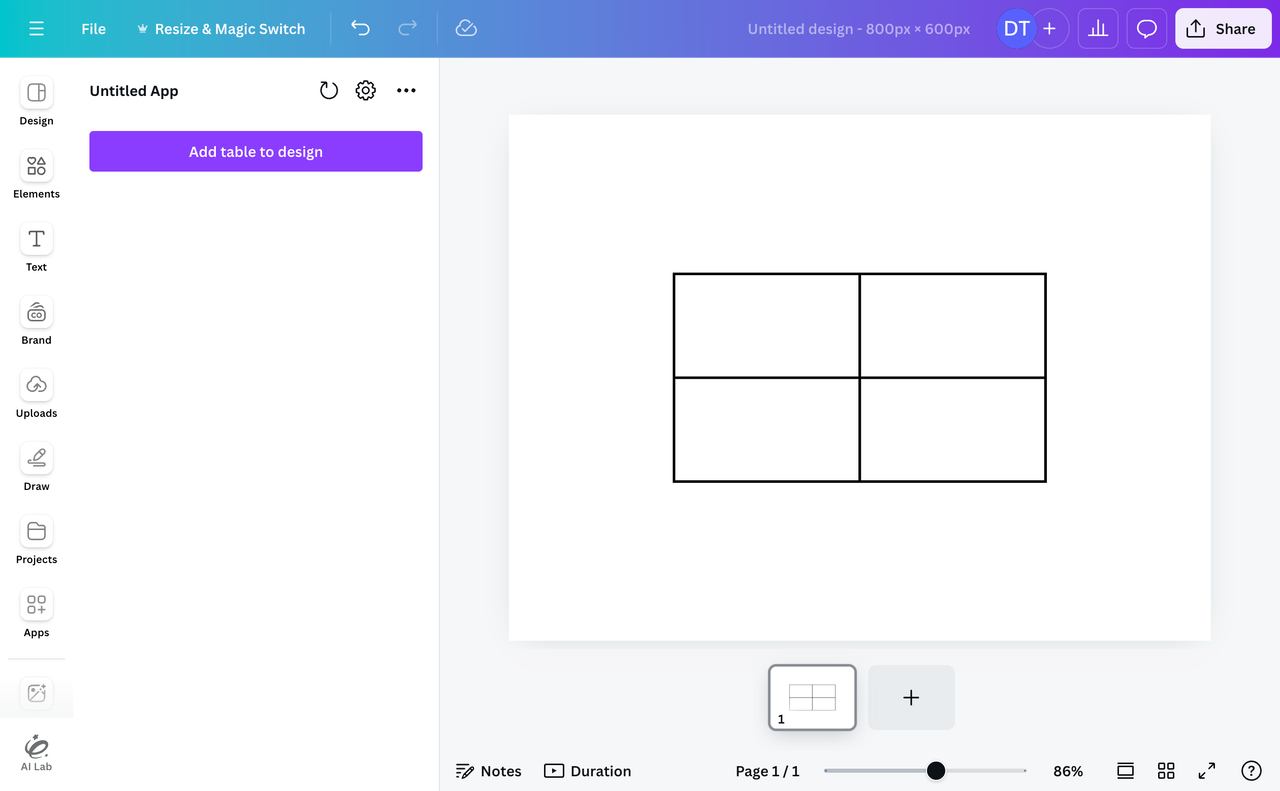
How to create a table
Step 1: Enable the required scopes
In the Developer Portal, enable the canva:design:content:write scope. In the future, the Apps SDK will throw an error if the required scopes aren't enabled. To learn more, see Configuring scopes.
Step 2: Create a table
At their most basic, tables are plain JavaScript objects. These objects have rows, and the rows have cells. The cells can contain content and have attributes like background color.
The following code snippet contains an example of a table object that has a single row and cell:
import { TableElement } from "@canva/design";const element: TableElement = {type: "table",rows: [{cells: [{type: "string",value: "Hello world",},],},],};
To create these objects, we recommend using the useTable hook from the @canva/app-hooks package. This hook provides a reactive way to create and manage table state with built-in validation.
To use the useTable hook:
-
Import the hook:
import { useTable } from "@canva/app-hooks";TSX -
Call the hook with an initial table state, specifying the number of rows and columns:
const tableState = useTable({ rowCount: 2, columnCount: 2 });TSXThis creates a reactive table state with two rows and two columns, resulting in a table of four cells.
-
Call the
buildmethod to convert the table state into a table element:const element = tableState.build();console.log(element); // => { type: "table", rows: [ ... ]}TSX
In this case, the table has four empty cells. The tableState object is reactive, so you can modify properties like rowCount and columnCount directly, and these changes will automatically be reflected. To learn how to customize the table further, such as by adding text content within cells or setting the background color of cells, see Customizing tables.
Step 3: Add the table to the design
Apps can add table elements to a design by calling either of the following methods:
addElementAtPointaddElementAtCursor
Both methods add an element to the user's design, but:
addElementAtPointonly works in design types that support absolute positions (fixed designs), which is all design types except for Canva Docs.addElementAtCursoronly works in responsive design types that contain streams of text (currently Canva docs only).
Where possible, apps should determine the context in which the app is running and either call the compatible method or make it obvious when functionality isn't available:
import { Button, Rows } from "@canva/app-ui-kit";import { addElementAtCursor, addElementAtPoint } from "@canva/design";import { useFeatureSupport, useTable } from "@canva/app-hooks";import * as styles from "styles/components.css";export const App = () => {const isSupported = useFeatureSupport();const tableState = useTable({ rowCount: 2, columnCount: 2 });function handleAddElementAtPoint() {if (!isSupported(addElementAtPoint)) {return;}const element = tableState.build();addElementAtPoint(element);}function handleAddElementAtCursor() {if (!isSupported(addElementAtCursor)) {return;}const element = tableState.build();addElementAtCursor(element);}return (<div className={styles.scrollContainer}><Rows spacing="1u"><Buttonvariant="primary"disabled={!isSupported(addElementAtPoint)}onClick={handleAddElementAtPoint}>Add table element at point</Button><Buttonvariant="primary"disabled={!isSupported(addElementAtCursor)}onClick={handleAddElementAtCursor}>Add table element at cursor</Button></Rows></div>);};
To learn more, see Feature support.
Customizing tables
The useTable hook returns a reactive table state object that you can manipulate directly to customize the structure and appearance of tables. This section demonstrates how to accomplish some common requirements.
Adding rows
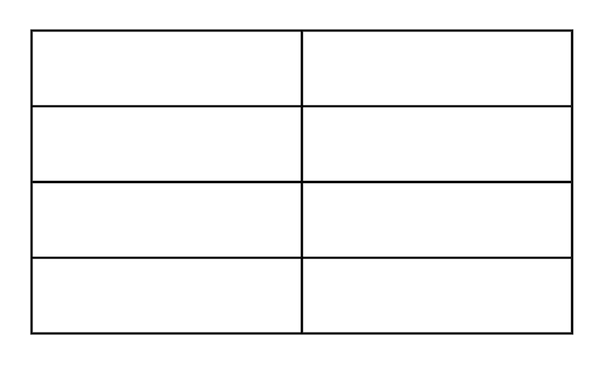
You can add rows to a table by modifying the rowCount property of the table state:
import { addElementAtPoint } from "@canva/design";import { useTable } from "@canva/app-hooks";// Create a table with 2 rows and 2 columnsconst tableState = useTable({ rowCount: 2, columnCount: 2 });// Add more rows by updating rowCounttableState.rowCount = 4; // Now the table has 4 rows// Add the table to the designconst element = tableState.build();addElementAtPoint(element);
The table will automatically adjust to accommodate the new number of rows.
Adding columns
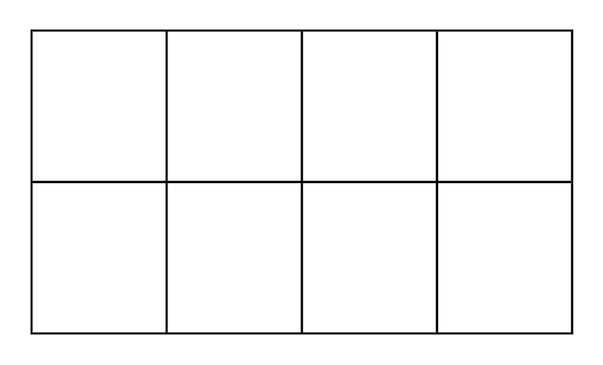
You can add columns to a table by modifying the columnCount property of the table state:
import { addElementAtPoint } from "@canva/design";import { useTable } from "@canva/app-hooks";// Create a table with 2 rows and 2 columnsconst tableState = useTable({ rowCount: 2, columnCount: 2 });// Add more columns by updating columnCounttableState.columnCount = 4; // Now the table has 4 columns// Add the table to the designconst element = tableState.build();addElementAtPoint(element);
The table will automatically adjust to accommodate the new number of columns.
Setting cell content
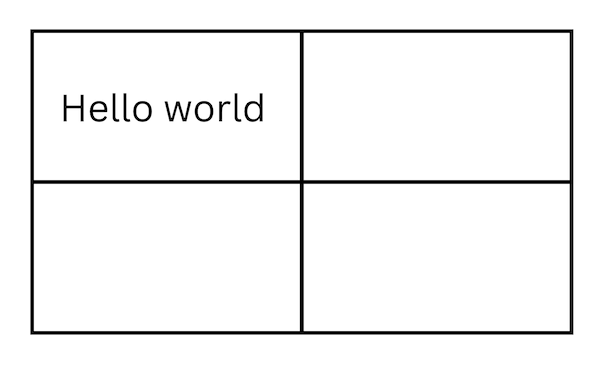
You can set the text content of specific cells by adding cell customizations to the cells array:
import { addElementAtPoint } from "@canva/design";import { useTable } from "@canva/app-hooks";// Create a table with 2 rows and 2 columnsconst tableState = useTable({rowCount: 2,columnCount: 2,cells: [{rowPos: 1,columnPos: 1,text: "Hello world",},],});// Add the table to the designconst element = tableState.build();addElementAtPoint(element);
The rowPos and columnPos properties specify the position of the cell. These numbers start from 1, not 0. You can also modify the cells array after initialization by assigning a new array to tableState.cells.
Setting cell background colors
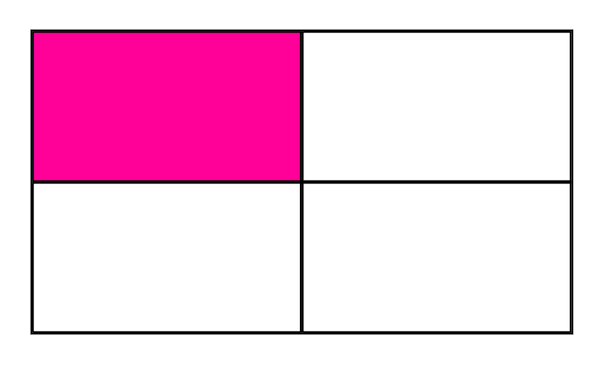
You can set the background color of specific cells by adding cell customizations with the fillColor property:
import { addElementAtPoint } from "@canva/design";import { useTable } from "@canva/app-hooks";// Create a table with 2 rows and 2 columnsconst tableState = useTable({rowCount: 2,columnCount: 2,cells: [{rowPos: 1,columnPos: 1,fillColor: "#ff0099",},],});// Add the table to the designconst element = tableState.build();addElementAtPoint(element);
The rowPos and columnPos properties specify the position of the cell. These numbers start from 1, not 0.
Merging rows
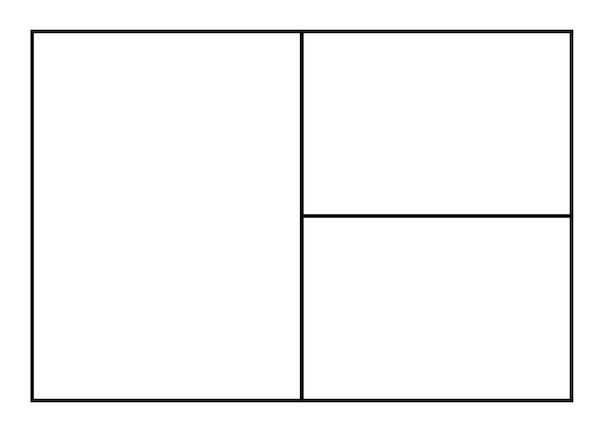
You can merge rows by setting the rowSpan property on a cell customization:
import { addElementAtPoint } from "@canva/design";import { useTable } from "@canva/app-hooks";// Create a table with 2 rows and 2 columnsconst tableState = useTable({rowCount: 2,columnCount: 2,cells: [{rowPos: 1,columnPos: 1,rowSpan: 2,},],});// Add the table to the designconst element = tableState.build();addElementAtPoint(element);
The rowPos and columnPos properties specify the position of the cell. These numbers start from 1, not 0.
Merging columns
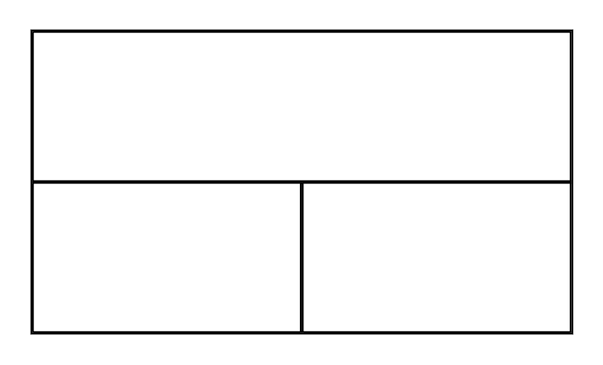
You can merge columns by setting the colSpan property on a cell customization:
import { addElementAtPoint } from "@canva/design";import { useTable } from "@canva/app-hooks";// Create a table with 2 rows and 2 columnsconst tableState = useTable({rowCount: 2,columnCount: 2,cells: [{rowPos: 1,columnPos: 1,colSpan: 2,},],});// Add the table to the designconst element = tableState.build();addElementAtPoint(element);
The rowPos and columnPos properties specify the position of the cell. These numbers start from 1, not 0.
Accessing cell customizations
You can access the cell customizations through the cells array property of the table state:
import { useTable } from "@canva/app-hooks";// Create a table with cell customizationsconst tableState = useTable({rowCount: 2,columnCount: 2,cells: [{rowPos: 1,columnPos: 1,text: "Hello world",fillColor: "#ff0099",},],});// Access the cells arrayconsole.log(tableState.cells);// => [{ rowPos: 1, columnPos: 1, text: "Hello world", fillColor: "#ff0099" }]// Find a specific cell by positionconst cell = tableState.cells?.find((c) => c.rowPos === 1 && c.columnPos === 1);console.log(cell);
The cells array contains all the customizations you've defined for specific cells.
Known limitations
- Tables can't exist within app elements.
- Tables can't exist within group elements.
- Tables can't be dragged and dropped into a design.
- Apps can't set the borders of tables.
- A single table can't have more than 225 cells.