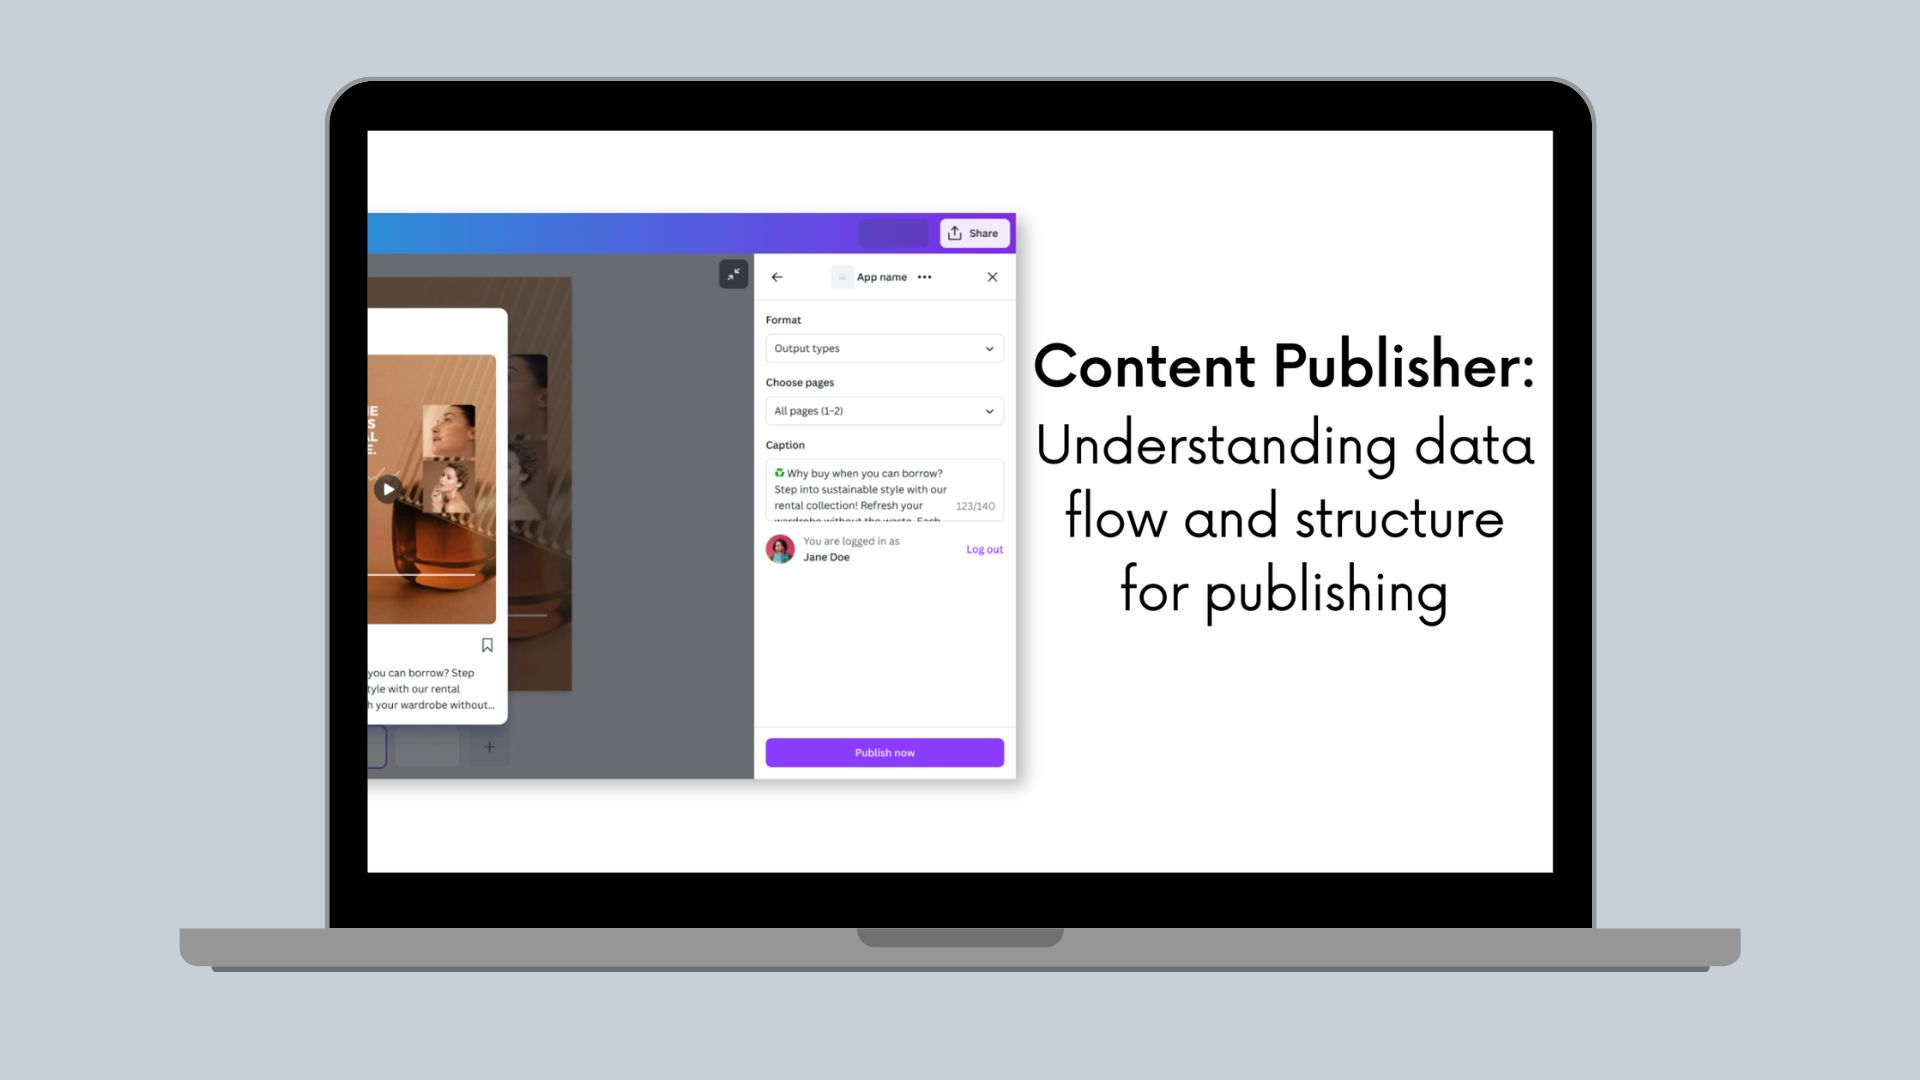
Content Publisher Intent
Meet the Content Publisher Intent - Part 1
Understanding data flow and structure for publishing
Meet our new way to Publish from Canva - the Content Publisher Intent. It's a powerful, updated foundation for integrating Canva with external content systems, from social media to asset management. Whether you're connecting to a digital asset management (DAM) platform, a brand portal, or an enterprise content repository, the Content Publisher intent provides the infrastructure to streamline exporting Canva designs.
This is Part 1 of a 3-part series on building asset management integrations with Content Publisher. In this post, we'll explore how data flows through the publishing process and how to design the custom settings structure that powers your asset organization.
Series Overview:
Part 1 (this post): Understanding data flow and structure for publishing
Part 2: Building Settings UIs and UI patterns for asset organization
Part 3: Complete implementation, Preview UIs, and backend integration
Understanding the Content Publisher Flow
The Content Publisher intent follows a four-step flow, with data passing between Canva and your app at each stage:
- getPublishConfiguration → Define what content types you accept
- renderSettingsUi → Collect custom metadata from the user
- renderPreviewUi → Show a preview before publishing
- publishContent → Send files + metadata to your DAM
Let's explore what data flows through each step.
Step 1: getPublishConfiguration
What happens: Canva asks your app what output types you support.
Data flow: You → Canva
You define the output types (file formats, aspect ratios, etc.) that your DAM accepts:
async function getPublishConfiguration() {return {status: 'completed',outputTypes: [{id: 'image_asset',displayName: 'Image Asset',mediaSlots: [{id: 'media',displayName: 'Media',fileCount: { min: 1, max: 10 },accepts: {image: { format: 'png' }}}]}]};}
Step 2: renderSettingsUi - Collecting Custom Metadata
What happens: User provides metadata for organizing the asset in your DAM.
Data flow: User → Your UI → publishRef (stored by Canva)
This is where you collect whatever information your DAM needs. You store it in publishRef:
function SettingsUI({ updatePublishSettings }) {const [settings, setSettings] = useState<PublishSettings>({destinationFolder: '',category: '',tags: [],description: ''});const setAndPropagateSettings = useCallback((updatedSettings: PublishSettings) => {setSettings(updatedSettings);updatePublishSettings({publishRef: JSON.stringify(updatedSettings),validityState: validatePublishRef(updatedSettings),});},[updatePublishSettings],);return (<Rows spacing="2u"><FormFieldlabel="Folder to save to"control={(props) => (<Select{...props}options={[//populate from folder structure]}searchablestretch/>)}/>{/* More fields... */}</Rows>);}
Key concept: publishRef is a string (max 32KB) where you store any data structure you want. Design it based on your DAM's requirements.
Step 3: renderPreviewUi - Showing What Will Be Published
What happens: User confirms settings before publishing.
Data flow: Canva → Your Preview UI
You receive preview media and the publishRef you saved:
function PreviewUI({ invocationContext, registerOnPreviewChange }) {const [previewData, setPreviewData] = useState<{previewMedia: PreviewMedia[];outputType: OutputType;publishRef?: string;} | null>(null);useEffect(() => {const dispose = registerOnPreviewChange((data) => {setPreviewData(data);});return dispose;}, [registerOnPreviewChange]);const { previewMedia, publishRef, outputType } = previewData ?? {};const publishSettings = parsePublishSettings(publishRef);return (<Box spacing="2u"><Text>Publishing to: {publishSettings.destinationFolder}</Text>{previewMedia.map(preview => <ImageCard thumbnailUrl={preview.url} />)}</Box>);}
Step 4: publishContent - Sending to Your DAM
What happens: Files are exported and sent to your backend with metadata.
Data flow: Canva → Your backend
You receive two sources of metadata:
Your Custom Settings: publishRef
This contains the settings you collected in Step 2:
async function publishContent(request: PublishContentRequest) {// Parse YOUR custom settingsconst settings = request.publishRef? JSON.parse(request.publishRef): {};console.log(settings.destinationFolder); // "/Marketing/Q1-2024"console.log(settings.category); // "social"console.log(settings.tags); // ["campaign", "instagram"]}
Canva's Design Metadata: contentMetadata
Canva automatically provides metadata about the source design on each file:
async function publishContent(request: PublishContentRequest) {const file = request.outputMedia[0].files[0];// Canva provides this automaticallyconst canvaMetadata = file.contentMetadata;console.log(canvaMetadata.title); // "Product Launch Hero"console.log(canvaMetadata.designToken); // "eyJhbGc..."console.log(canvaMetadata.pages); // [{ pageId, pageNumber }]}
Design title is not available until the Publish action has been taken by the user. You can use the designToken on your platform with a Canva Connect Integration to reopen the design with your app.
Using Both Together
Combine your custom settings with Canva's metadata when uploading to your DAM:
async function publishContent(request: PublishContentRequest) {// YOUR custom settingsconst customSettings = request.publishRef? JSON.parse(request.publishRef): {};const files = request.outputMedia[0]?.files ?? [];for (const file of files) {// CANVA's design metadataconst designMetadata = file.contentMetadata;// Upload to your DAM with bothawait uploadToDAM({// Download URL for the exported filedownloadUrl: file.url,// From YOUR settings (publishRef)destinationFolder: customSettings.destinationFolder,category: customSettings.category,tags: customSettings.tags,description: customSettings.description,// From CANVA (contentMetadata)originalDesignTitle: designMetadata.title,designToken: designMetadata.designToken,pageNumber: designMetadata.pages[0]?.pageNumber,// From the file itselfwidth: file.widthPx,height: file.heightPx,format: file.format});}return {status: 'completed',externalUrl: `https://yourdam.com/assets/${customSettings.destinationFolder}`};}
Key Distinctions: publishRef vs contentMetadata
Aspect | publishRef | contentMetadata |
|---|---|---|
Controlled by | You (the developer) | Canva (automatic) |
Structure | Whatever you design | Fixed by Canva |
Purpose | Store custom publish settings | Provide content context |
Created in | renderSettingsUi() | Automatically by Canva |
Received in | publishContent(request.publishRef) | publishContent(request.outputMedia[].files[].contentMetadata) |
Contains | Folder, tags, category, custom fields | Design title, token, pages |
Max size | 32KB | N/A |
Designing Your publishRef Structure
The structure of publishRef is entirely up to you - design it based on your DAM system's requirements. Here is an example pattern:
interface ContentSettings {folder: string;tags: string[];description: string;}
Best Practices for publishRef Design
-
Start Simple, Grow As Needed
Begin with the minimum viable structure:
interface MinimalSettings {folder: string;tags: string[];}updatePublishSettings({publishRef: JSON.stringify({ folder: '/Marketing', tags: ['campaign'] }),validityState: 'valid'});TSXAdd fields only when you have clear use cases:
interface ExpandedSettings {folder: string;tags: string[];// Added after user feedbackprojectId?: string;// Added for complianceexpiryDate?: string;}TSX -
Make Required Fields Obvious
interface WellDesignedSettings {// Required fields (no ? suffix)destinationFolder: string;category: string;// Optional fields (? suffix)tags?: string[];projectId?: string;description?: string;}// Validate before allowing publishconst isValid = settings.destinationFolder && settings.category;updatePublishSettings({publishRef: JSON.stringify(settings),validityState: isValid ? 'valid' : 'invalid_missing_required_fields'});TSX -
Use TypeScript Types for Controlled Vocabularies
Instead of free-text:
category: string; // ❌ User can enter anythingTSXUse union types:
category: 'marketing' | 'brand' | 'product' | 'social'; // ✅ Controlled valuesTSX -
Consider Your Backend's Needs
Your
publishRefstructure should make it easy for your backend to:- Store assets in the right location
- Apply the correct permissions
- Enable search and filtering
- Track assets over time
interface BackendFriendlySettings {// Easy to map to storage pathfolderPath: string; // "/clients/acme/2024/campaign"// Easy to index for searchtags: string[];// Easy to apply permissionsdepartment: string;visibility: 'public' | 'internal' | 'restricted';}// In publishContentconst settings = JSON.parse(request.publishRef) as BackendFriendlySettings;const storagePath = settings.folderPath;const searchIndex = { tags: settings.tags, department: settings.department };TSX -
Plan for Custom Fields
Different teams often need different metadata. Build flexibility in:
interface FlexibleSettings {// Standard fields all assets needfolder: string;category: string;tags: string[];// Custom fields specific to your use casecustomFields?: {[key: string]: string | number | boolean | string[];};}// Example usage in Settings UIconst settings: FlexibleSettings = {folder: "/marketing",category: "social",tags: ["campaign"],customFields: {targetAudience: "enterprise",performanceGoal: "awareness",estimatedReach: 50000}};updatePublishSettings({publishRef: JSON.stringify(settings),validityState: 'valid'});TSX -
Remember the 32KB Limit
publishRefhas a maximum size of 32KB. Keep it reasonable:// ❌ Too much dataconst bloatedSettings = {folder: '/path',// Don't include large datafullDesignData: '...', // Too large!allUserHistory: [...], // Too large!base64Image: '...' // Too large!};// ✅ Just the essentialsconst efficientSettings = {folder: '/Marketing/Q1',category: 'social',tags: ['campaign', 'instagram'],projectId: 'PROJ-2024-001'};TSX
Validating Your Structure
Before implementing, validate your publishRef design.
Questions to Ask:
- Can users easily provide this information?
- Is it obvious where to find each value?
- Are there too many required fields?
- Does it match how users think?
- Use their terminology, not technical jargon
- Organize fields in logical groups
- Will it scale?
- What happens when you have 10,000 assets?
- Can you add new fields without breaking existing integrations?
- Is it maintainable?
- Can you update controlled vocabularies (like categories)?
- How do you handle structure changes?
- Does it fit in 32KB?
- Even with lots of tags and custom fields?
- Have you tested with realistic data?
Validation Example
interface AssetSettings {folder: string;category: string;tags: string[];description?: string;}// Validation function for your Settings UIfunction validateSettings(settings: Partial<AssetSettings>): {isValid: boolean;errors: string[];} {const errors: string[] = [];if (!settings.folder) {errors.push('Destination folder is required');}if (!settings.category) {errors.push('Category is required');}if (settings.tags && settings.tags.length > 10) {errors.push('Maximum 10 tags allowed');}if (settings.description && settings.description.length > 500) {errors.push('Description must be less than 500 characters');}// Check serialized sizeconst serialized = JSON.stringify(settings);if (serialized.length > 32000) { // 32KBerrors.push('Settings exceed 32KB limit');}return {isValid: errors.length === 0,errors};}// Use in Settings UIfunction SettingsUI({ updatePublishSettings }) {const [settings, setSettings] = useState<AssetSettings>({folder: '',category: '',tags: [],description: ''});const setAndPropagateSettings = useCallback((updatedSettings: PublishSettings) => {const settingsValidationResult = validateSettings(updatedSettings)setSettings(updatedSettings);updatePublishSettings({publishRef: JSON.stringify(updatedSettings),validityState: settingsValidationResult.isValid ? 'valid' : 'invalid_missing_required_fields',});},[updatePublishSettings],);}
What's Next
Now that you understand how data flows through the Content Publisher intent and how to design a publishRef structure for your DAM system, the next step is building the UI to collect this information from users.
In Part 2, we'll cover:
- Building Settings UIs that collect your custom settings
- Advanced UI patterns (hierarchical folders, tag suggestions, context-aware defaults)
- Multi-page asset organization patterns
- How to properly use updatePublishSettings to save your data
We'll take the publishRef structures from this post and turn them into intuitive user interfaces within Canva.
Key Takeaways
- Data flows through four stages:
getPublishConfiguration→renderSettingsUi→renderPreviewUi→publishContent - You control
publishRef: This is where you store custom settings collected in your Settings UI (folder, tags, category, etc.) - Canva provides
contentMetadata: Automatically included on each exported file with design title, token, and page info - Design for your DAM: Structure
publishRefbased on how your DAM organizes and discovers assets - Keep it under 32KB: The
publishRefstring has a size limit, so keep it focused on essential metadata