Christmas
Add some Festive Fun to your App with Shapes with Fill
Create some Christmas designs with our these shapes

Happy Holidays from the team behind Canva Developers! We want to spread some joy this season that could also sprinkle some user delight into your app. Celebrating the season is a great way to keep your app fresh and your users coming back for more.
The Canva Apps SDK includes a Shape element that you can add to designs, but did you know you can change the fill of those shapes from colors to images? This holiday season, why not try adding some new frame options to your app containing images. From generative AI to digital asset tools, everyone can get in on the holiday fun.
Designing the shapes
When creating shapes, I find it helpful to actually draw out the shape and try to map the points or arcs I'll need for my shape. I selected a size I wanted to keep my SVGs inside (which was a 512px square), and went on to map out how to draw my shapes. Finding critical coordinates will make it easier to start describing the SVG path.
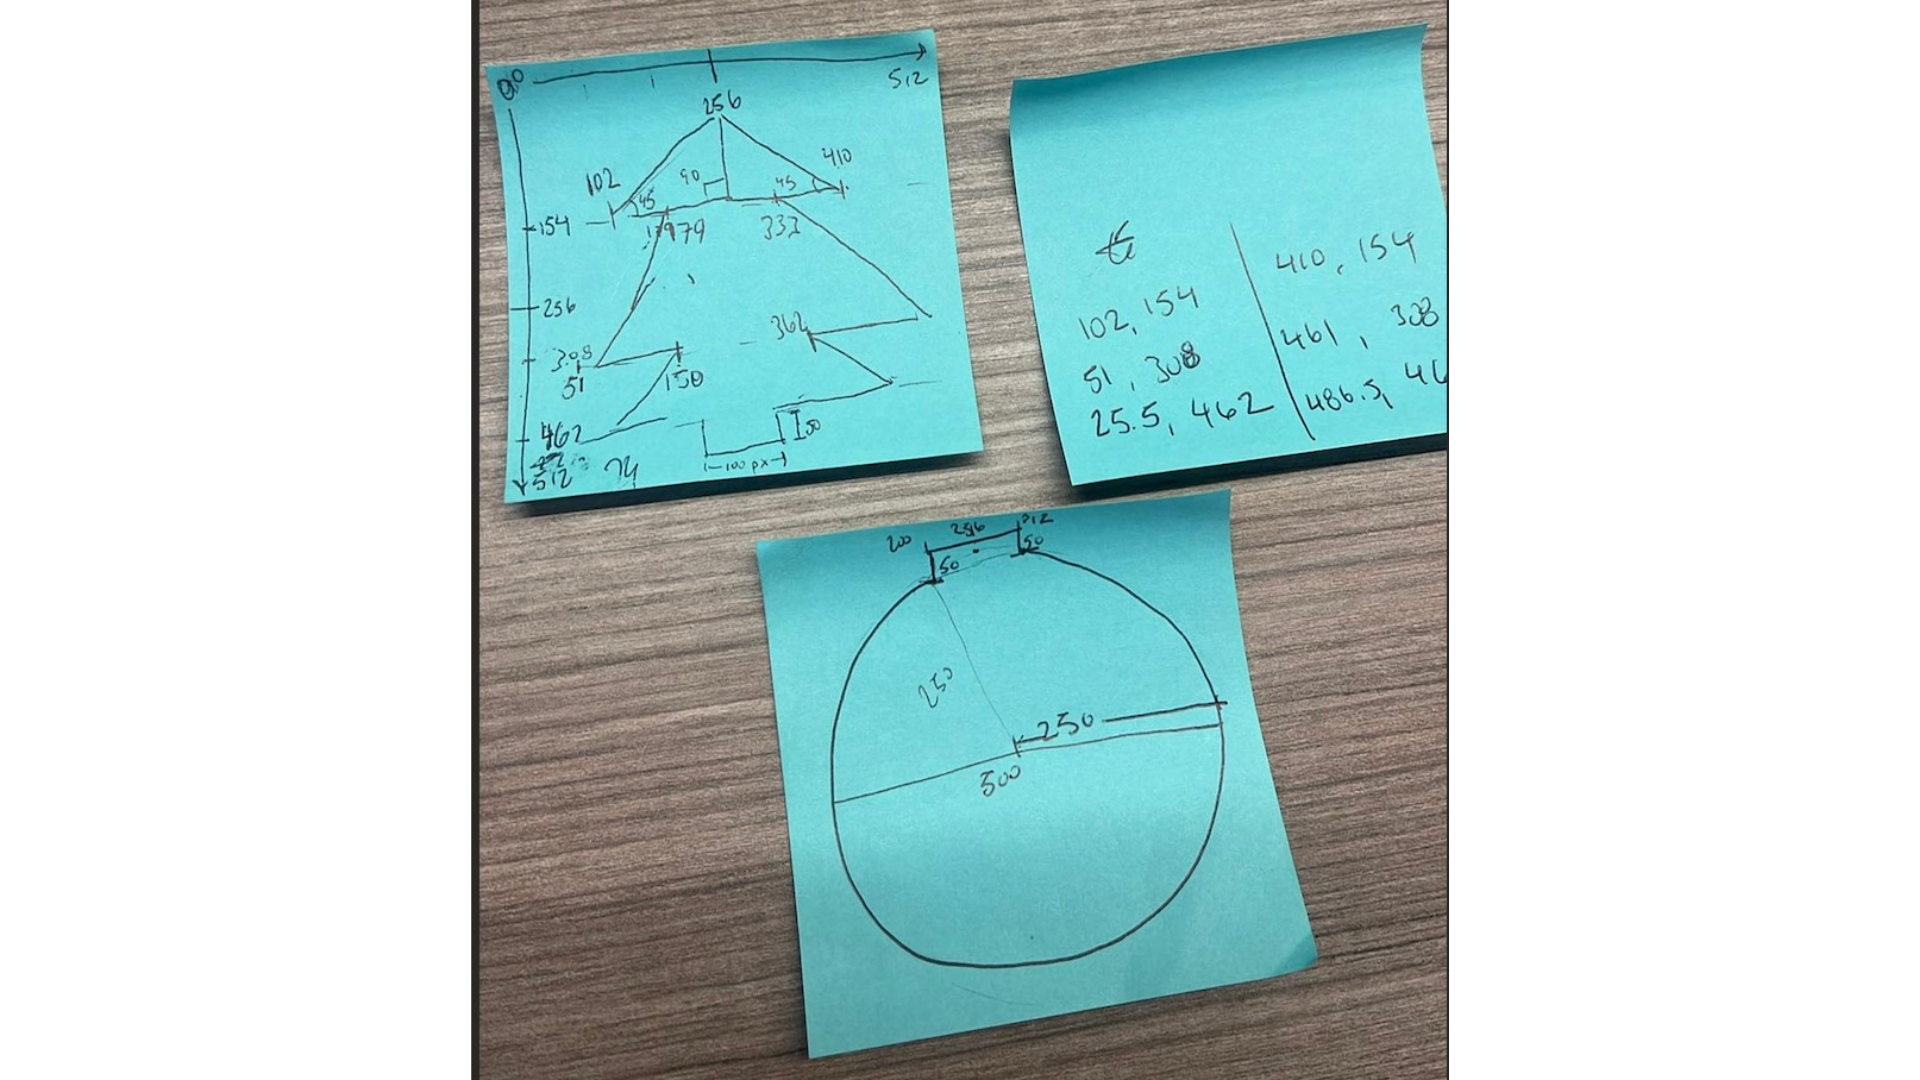
Thinking about a Christmas ornament, I knew I wanted a rectangle on top, and then I had to figure out how to construct the arc to swoop around from one side of the rectangle to the other. An arc path, or A a, takes in 7 parameters: radius x, radius y, rotation, long arc boolean, sweep boolean, and the final or relative X and Y coordinates.
Knowing my view box is 512 by 512 but that I had included a 50 px height rectangle at the top, I knew the radius had to be under 230, so I didn’t go outside my view box. And I wanted it to be a circle, so radius x = radius y. There was no need for rotation (since it’s a circle). The short arc would be inside the ornament topper, but we want to go all the way around, so we set long arc to true, or 1. And for the sweep, we set it to false because we want to be moving in a positive angle. Lastly, we want to end up back at the other side of the ornament top, so we set our final coordinates to where we started the ornament.
Our final shape looks something like this:
path: "M 312 50 V 0 H 200 V 50 A 225 225 0 1 0 312 50 z"
Getting our Christmas tree shape to look the way I wanted it to took some time. I figured out that if all of the branches are right triangles, it looked the best. So I turned to trusty, old Pythagorean theorem and started calculating some triangle side lengths.
Something to keep in mind is that Canva Shape Paths can only have 1 move command. Many shape paths out there would just draw 3 overlapping triangles, but that wouldn’t work for me. So I chose to traverse down one side of the tree and reverse back up. So, on the way down, I was drawing my diagonal lines to the end of the branch, but on the way up, those had to stop at the key mid-tree points. For me, it was easier to map it all out and draw the tree using absolute coordinates. Breaking out my handy old TI-84 calculator, I calculated all my points and started drawing with a simple combination of vertical lines, horizontal lines, and lines to (or H, V, and L paths).
That looks a little something like this:
path: "M 256 0 L 102 154 H 179 L 51 308 H 150 L 25.5 462 H 200 v 50 h 112 v -50 H 486.5 L 362 308 H 461 L 333 154 H 410 L 256 0"
For the more complex snowflake and gingerbread paths, I got resourceful and did a little bit of searching for SVG paths 😆. But knowing what to look for when sorting through the paths is handy, because you might just have to pick out parts of a more complex design. I wanted to make sure they were all in about the same size view box. All the paths had to be singular move (or M m) commands. And it needs to be paths, not polygons. I found SVG Viewer(opens in a new tab or window) to be very helpful in this search.
Building the app
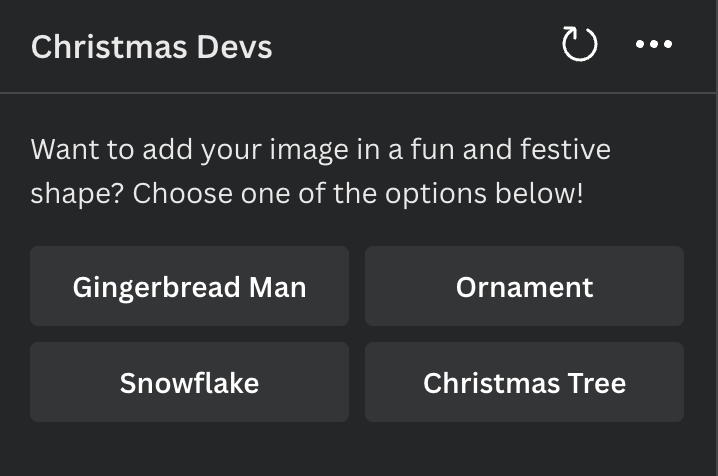
For the UI of my app, I added a few buttons in a grid to allow the user to select which shape they wanted to add an image into.
The button onClick will send the name of the shape picked to a function.
<Button variant="secondary" onClick={(value) => { selectImageShape(gingerbread) }}>Gingerbread Man</Button>
That will use the passed value to grab the paths I defined earlier in my code for the different shapes.
type FestiveShape = {color: string;path: string;};const gingerbread: FestiveShape = {path: "M471.433 201.388c0 -32.995… z",color: "#9f5529"};
Then, for the fill, instead of passing in a color to the addNativeElement shape type, we will set dropTarget to true and add in an asset object which takes in a type and reference.
fill: {dropTarget: true,asset: {type: "IMAGE",ref: image.ref},},
So this is what you button handler might look like:
const selectImageShape = (value) => {const shapeToAdd = {paths: [{d: value.path,fill: {dropTarget: true,asset: {type: "IMAGE",ref: image.ref},},},],viewBox: {width: 512,height: 512,top: 0,left: 0,},};addNativeElement({type: "SHAPE",paths: shapeToAdd.paths,viewBox: shapeToAdd.viewBox});};
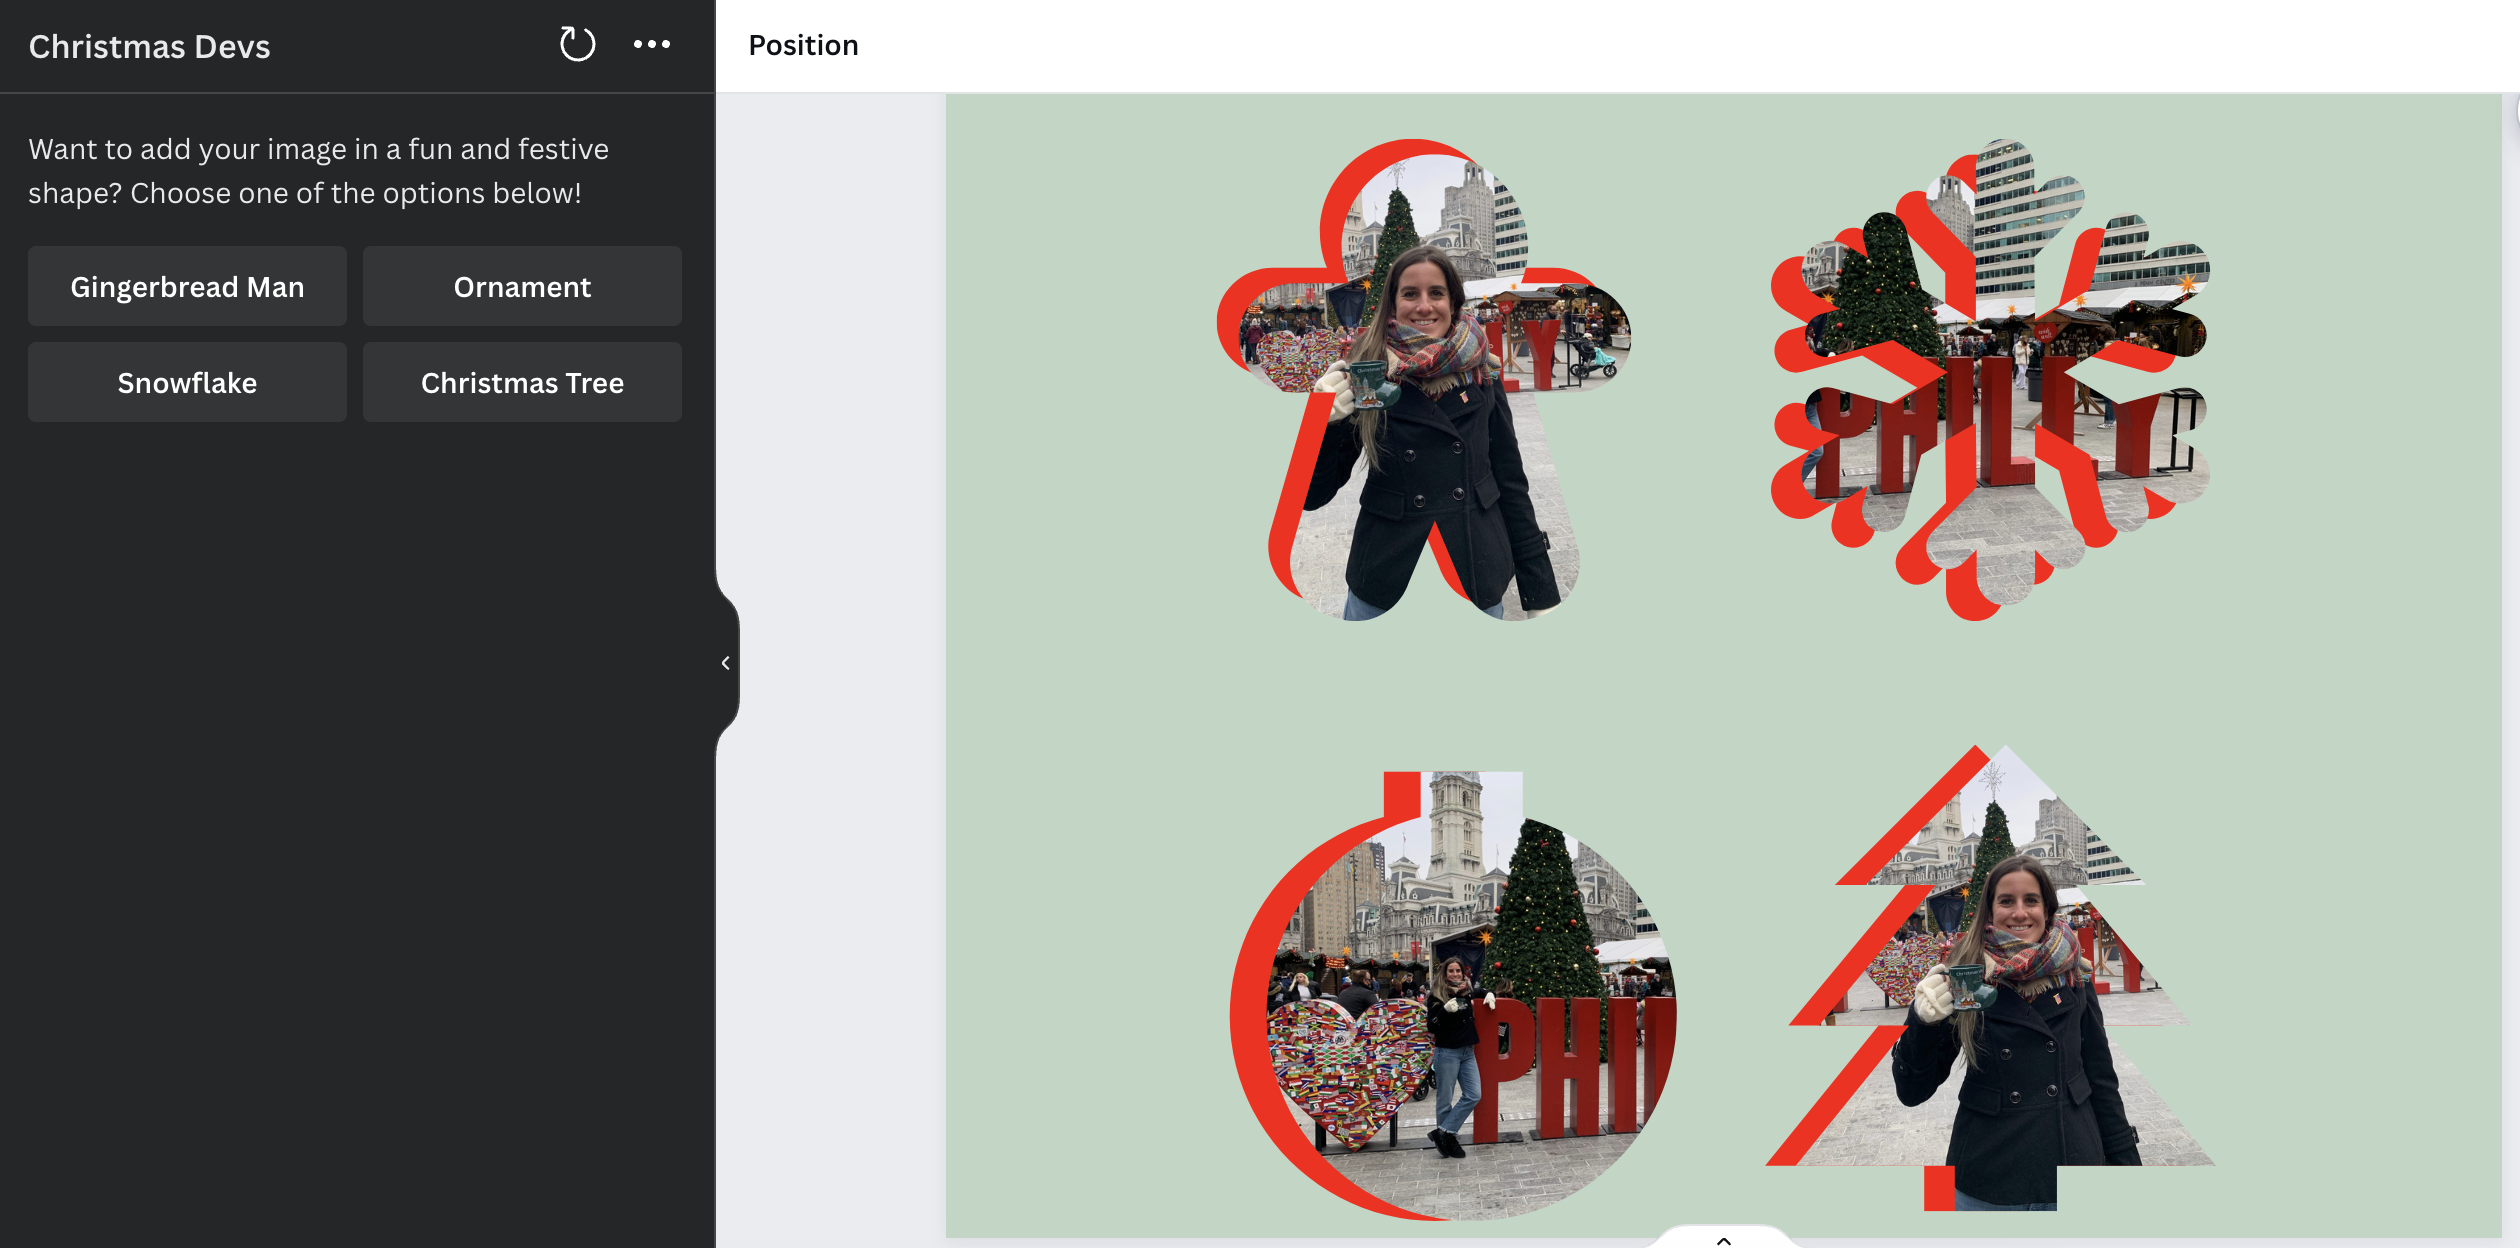
And in the end, you’ll be adding fun shaped images to your design!
I hope you have some fun with holiday flair this season! Let your creativity shine through and bring some extra magic to your app. ✨