A content extension imports content, such as photos and illustrations, into Canva. Users can access this content via the side panel and add it to their designs.
This quick start guide demonstrates how to create a content extension that imports content from Lorem Picsum, an API for placeholder photos.
Prerequisites
This guide assumes experience with:
- JSON APIs
- Node.js
- Express.js
Step 1: Set up a Base URL
At its most basic, a content extension is an API that receives requests from Canva and responds with data in a format that Canva understands. Canva expects this API to have certain paths to handle different requests.
To get an API up and running as quickly as possible, we recommend using Glitch, a web-based editor for creating and deploying Node.js apps. Glitch is free and registration is not required.
To set up a project with Glitch:
-
Click the following button:

This opens the Glitch editor with the source code of a simple content extension.
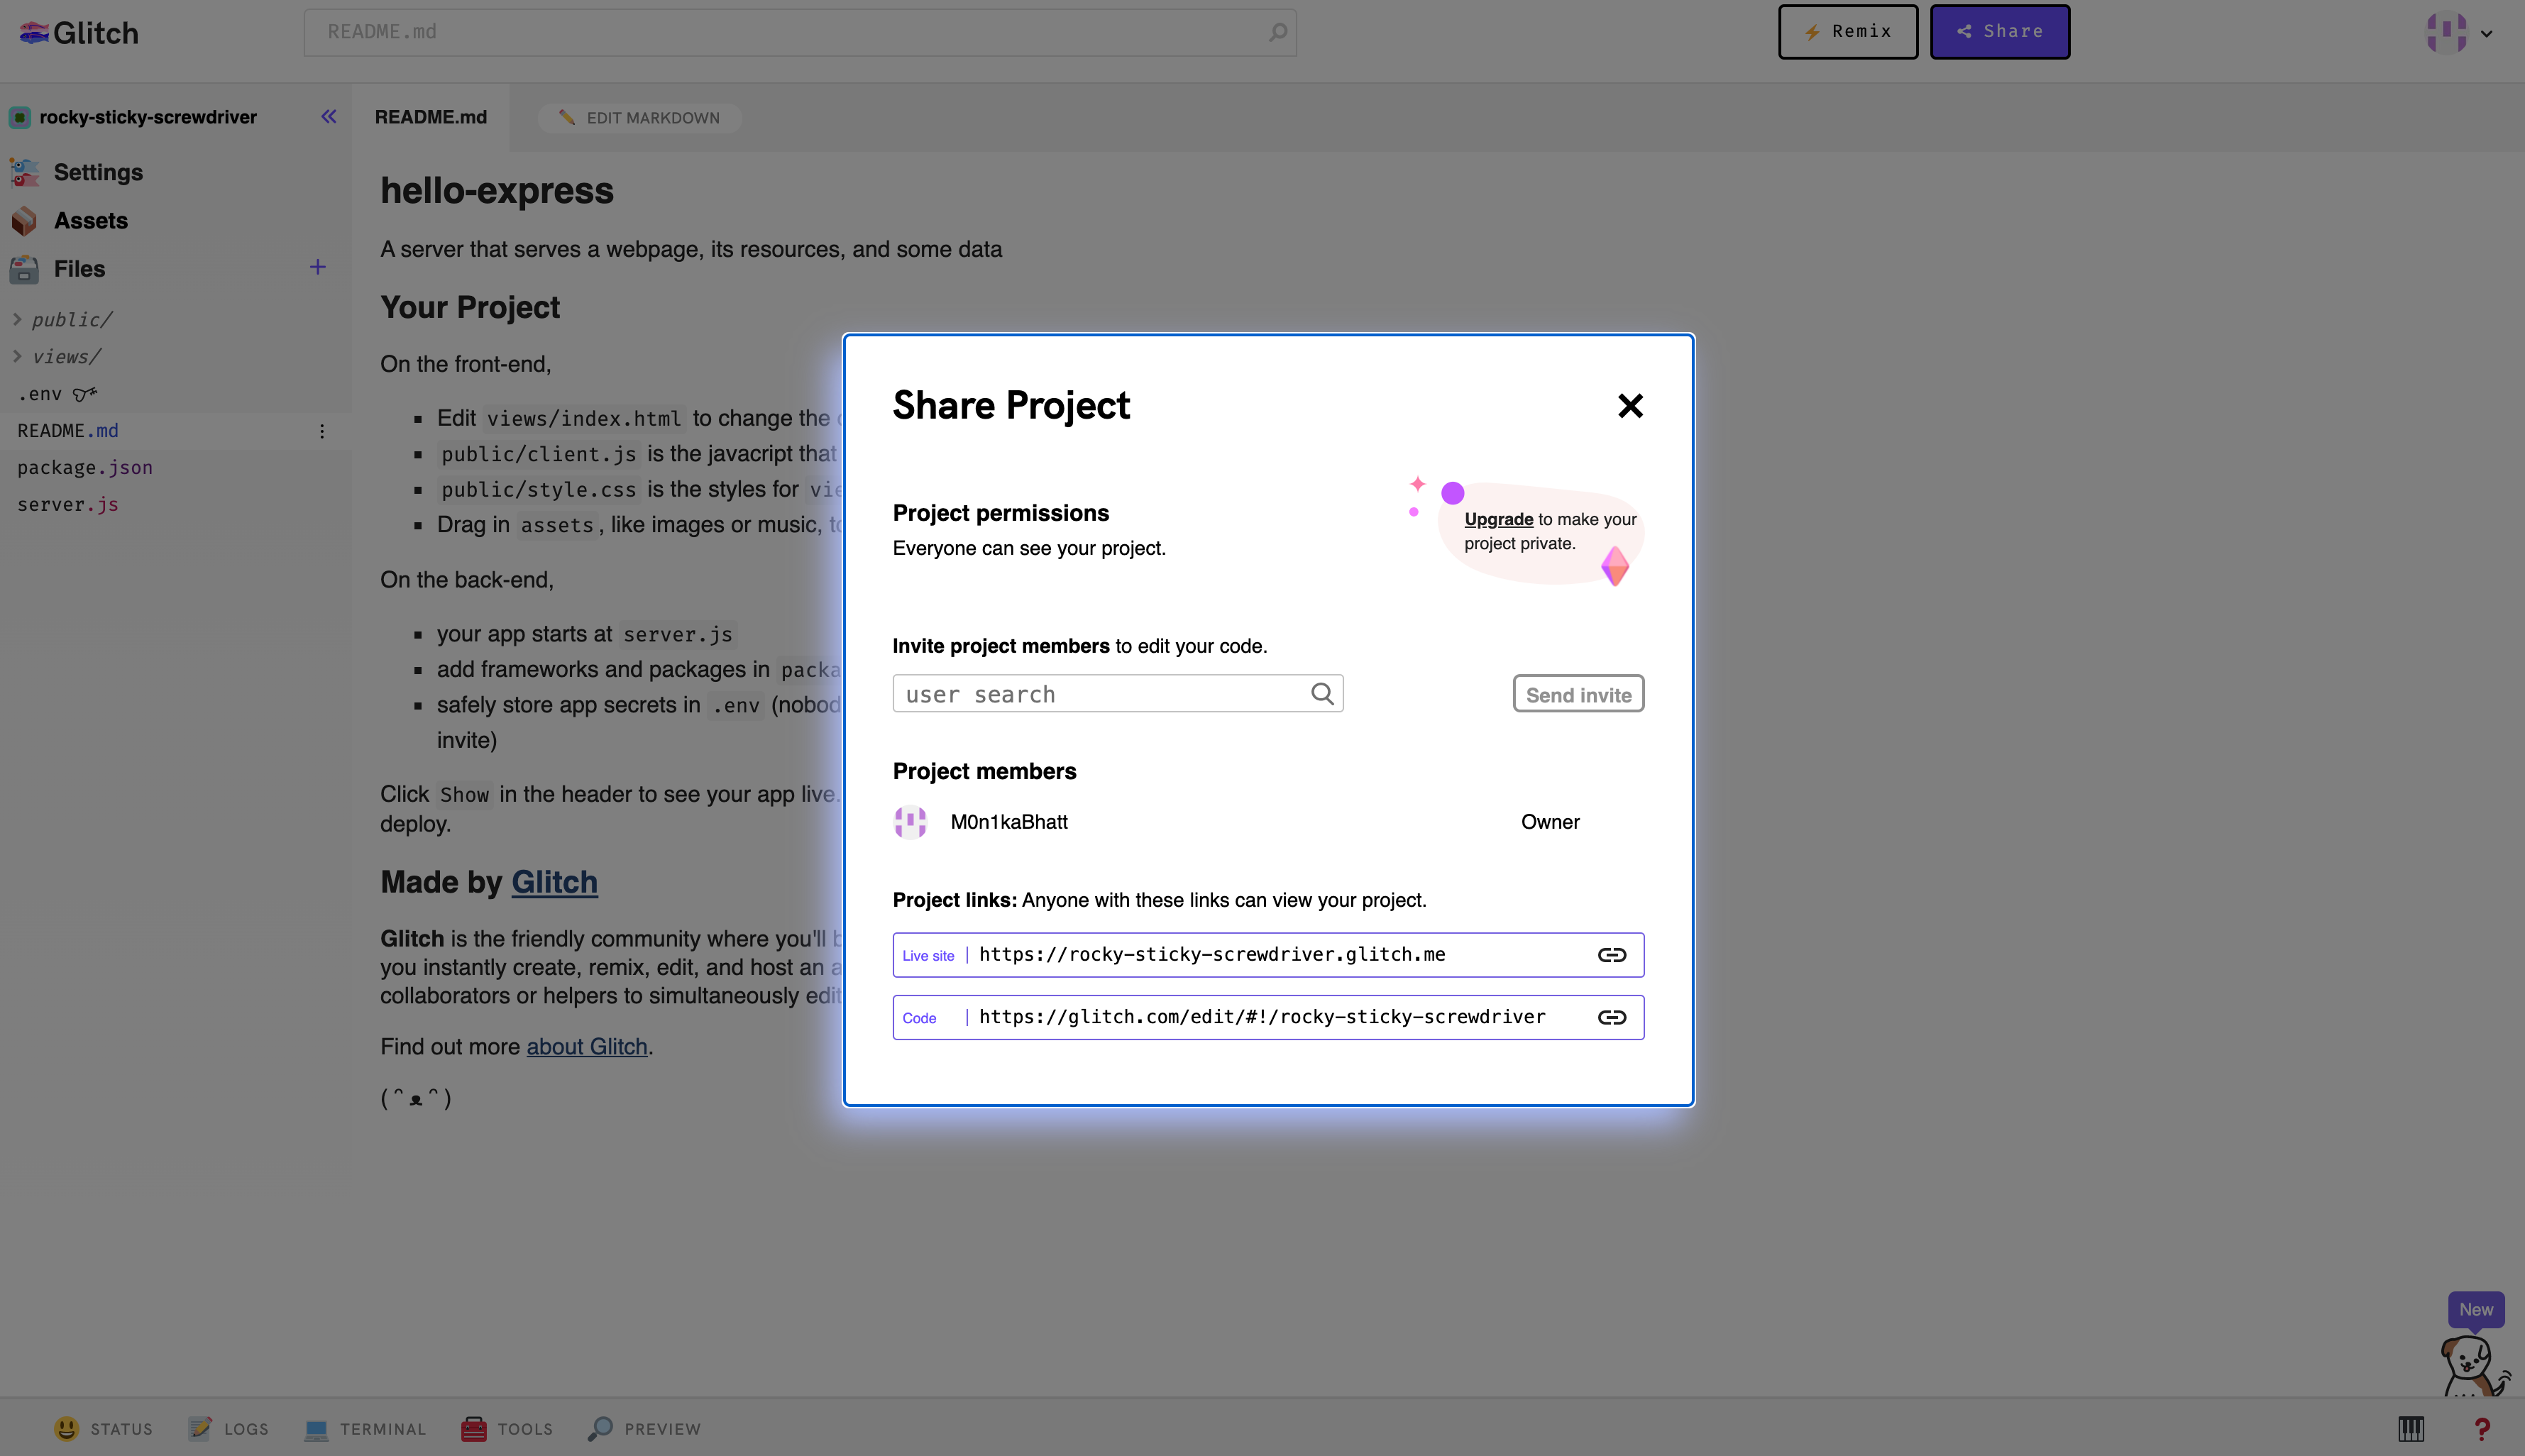
-
Click Share.
-
Copy the URL from the Live site field. You need this URL for a later step.
Step 2: Create an app via the Developer Portal
- Log in to the Developer Portal.
- Navigate to Your integrations.
- Click Create an app.
- Choose a target audience for the app. (The default option is Everyone.)
- Click Next.
- Select Create content.
- Click Next.
- Click Create app.
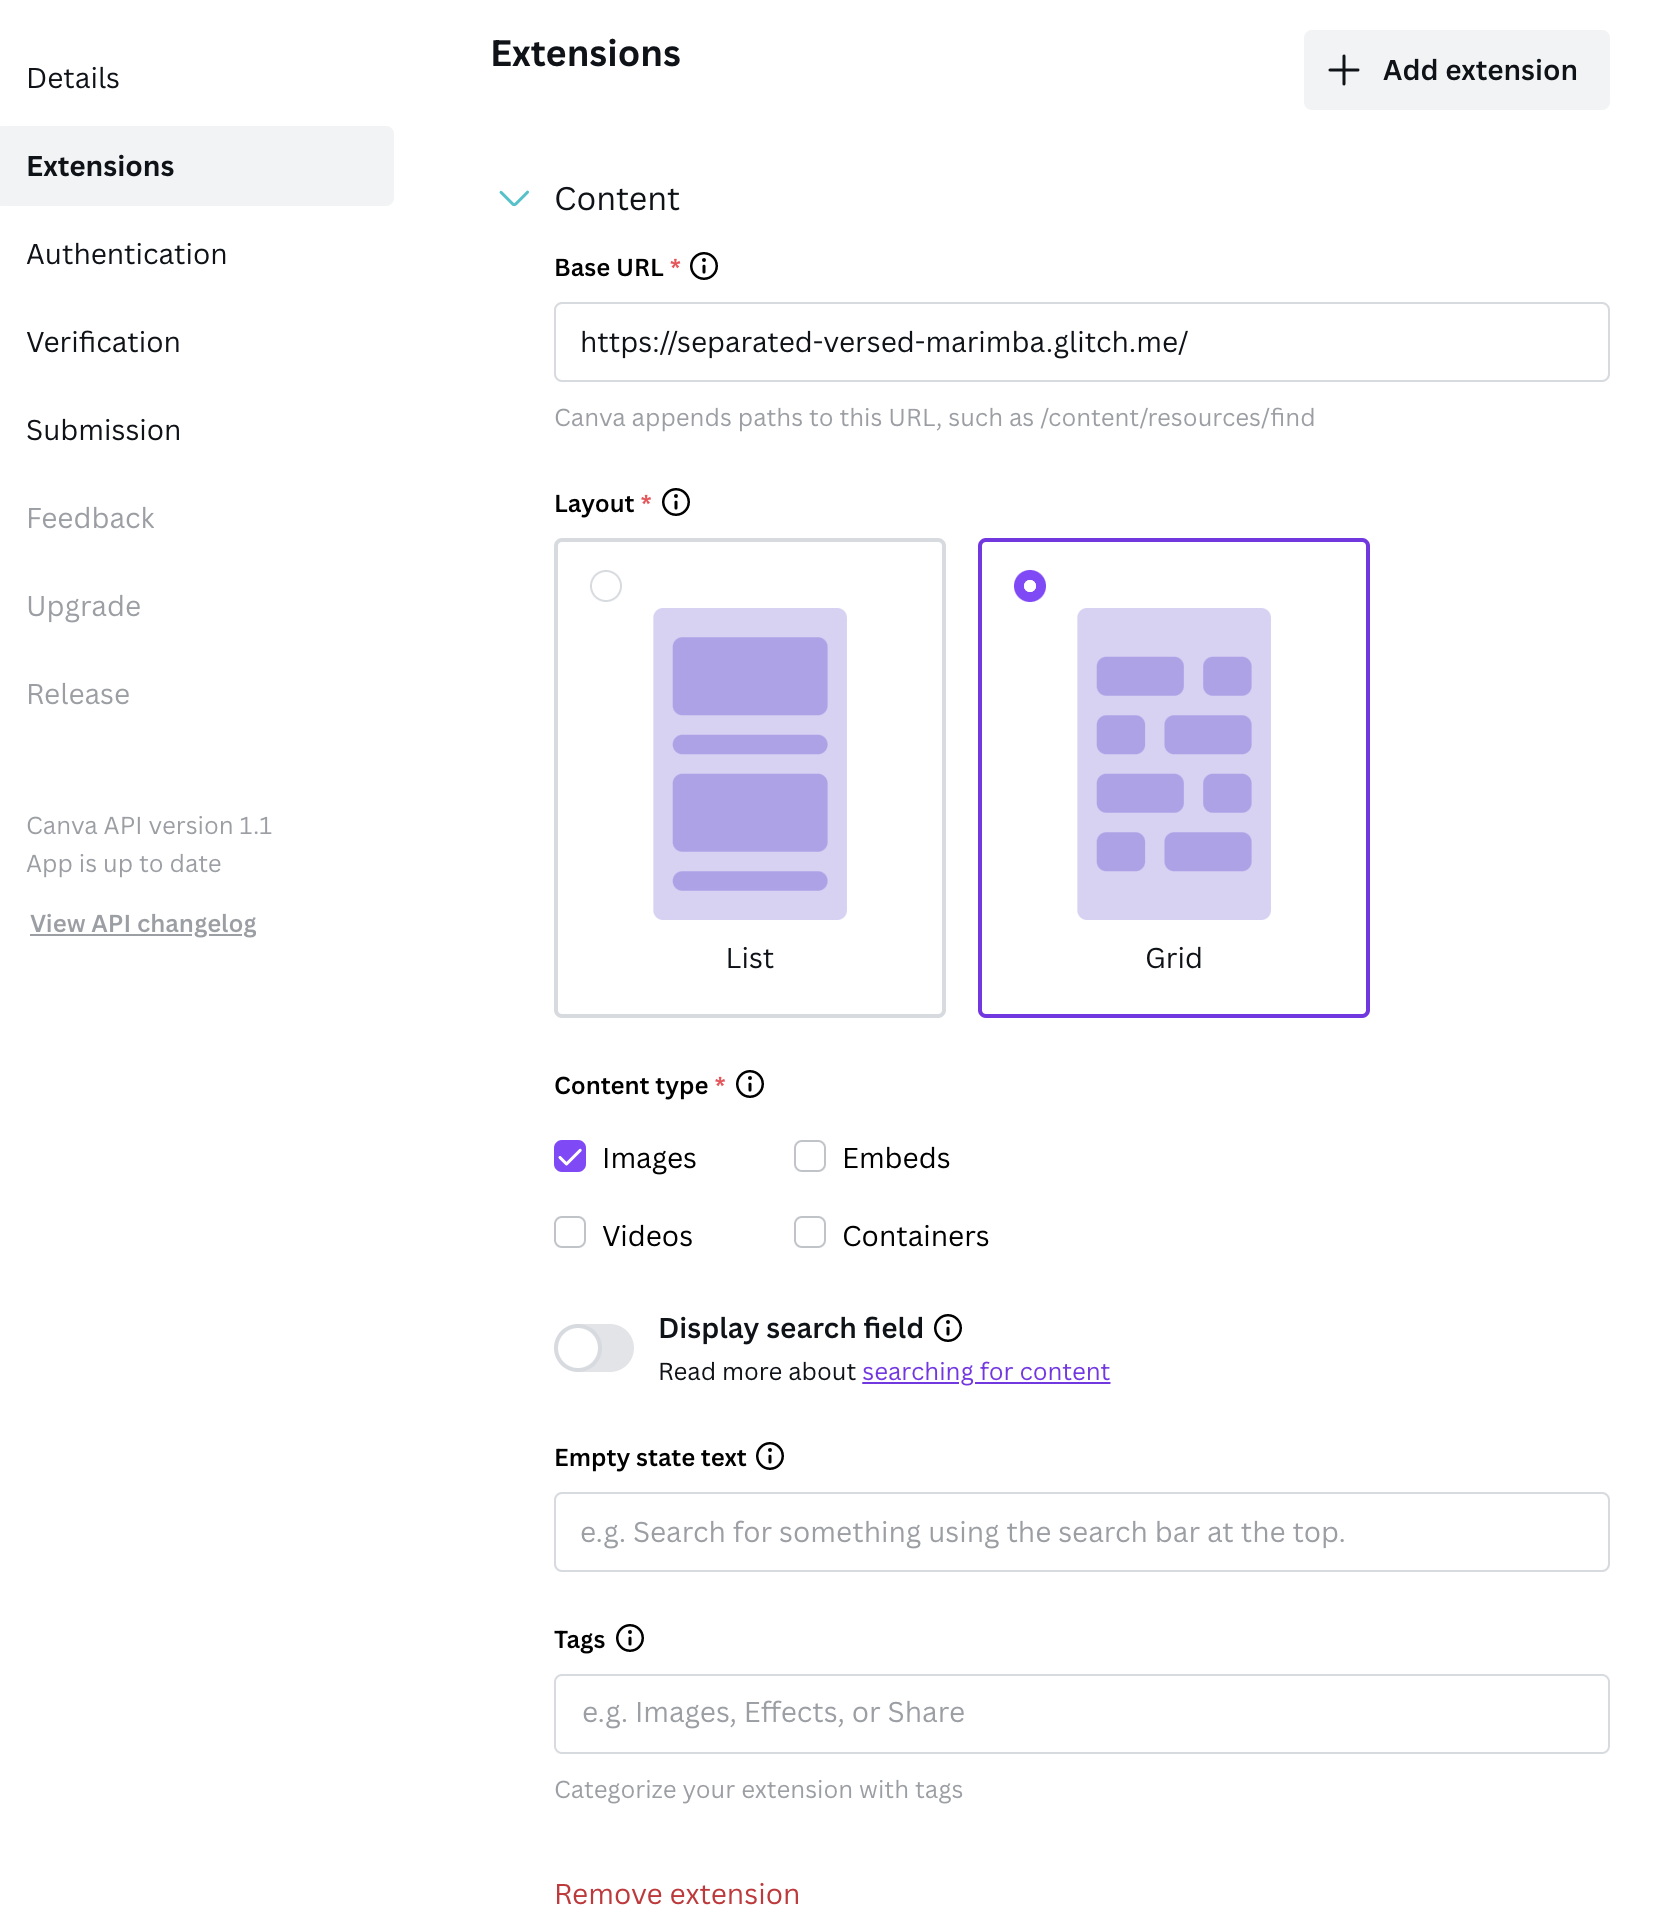
Step 3: Configure the content extension
- Paste the Live site URL from Glitch into the Base URL field.
- For the Layout option, select Grid.
- For the Content type option, select Images.
For guidelines on choosing the layout that's most appropriate for your content type, see Choose the best layout.
To learn about the supported content types, see Content types. For additional requirements that apply to each content type, see Choose the best content types.
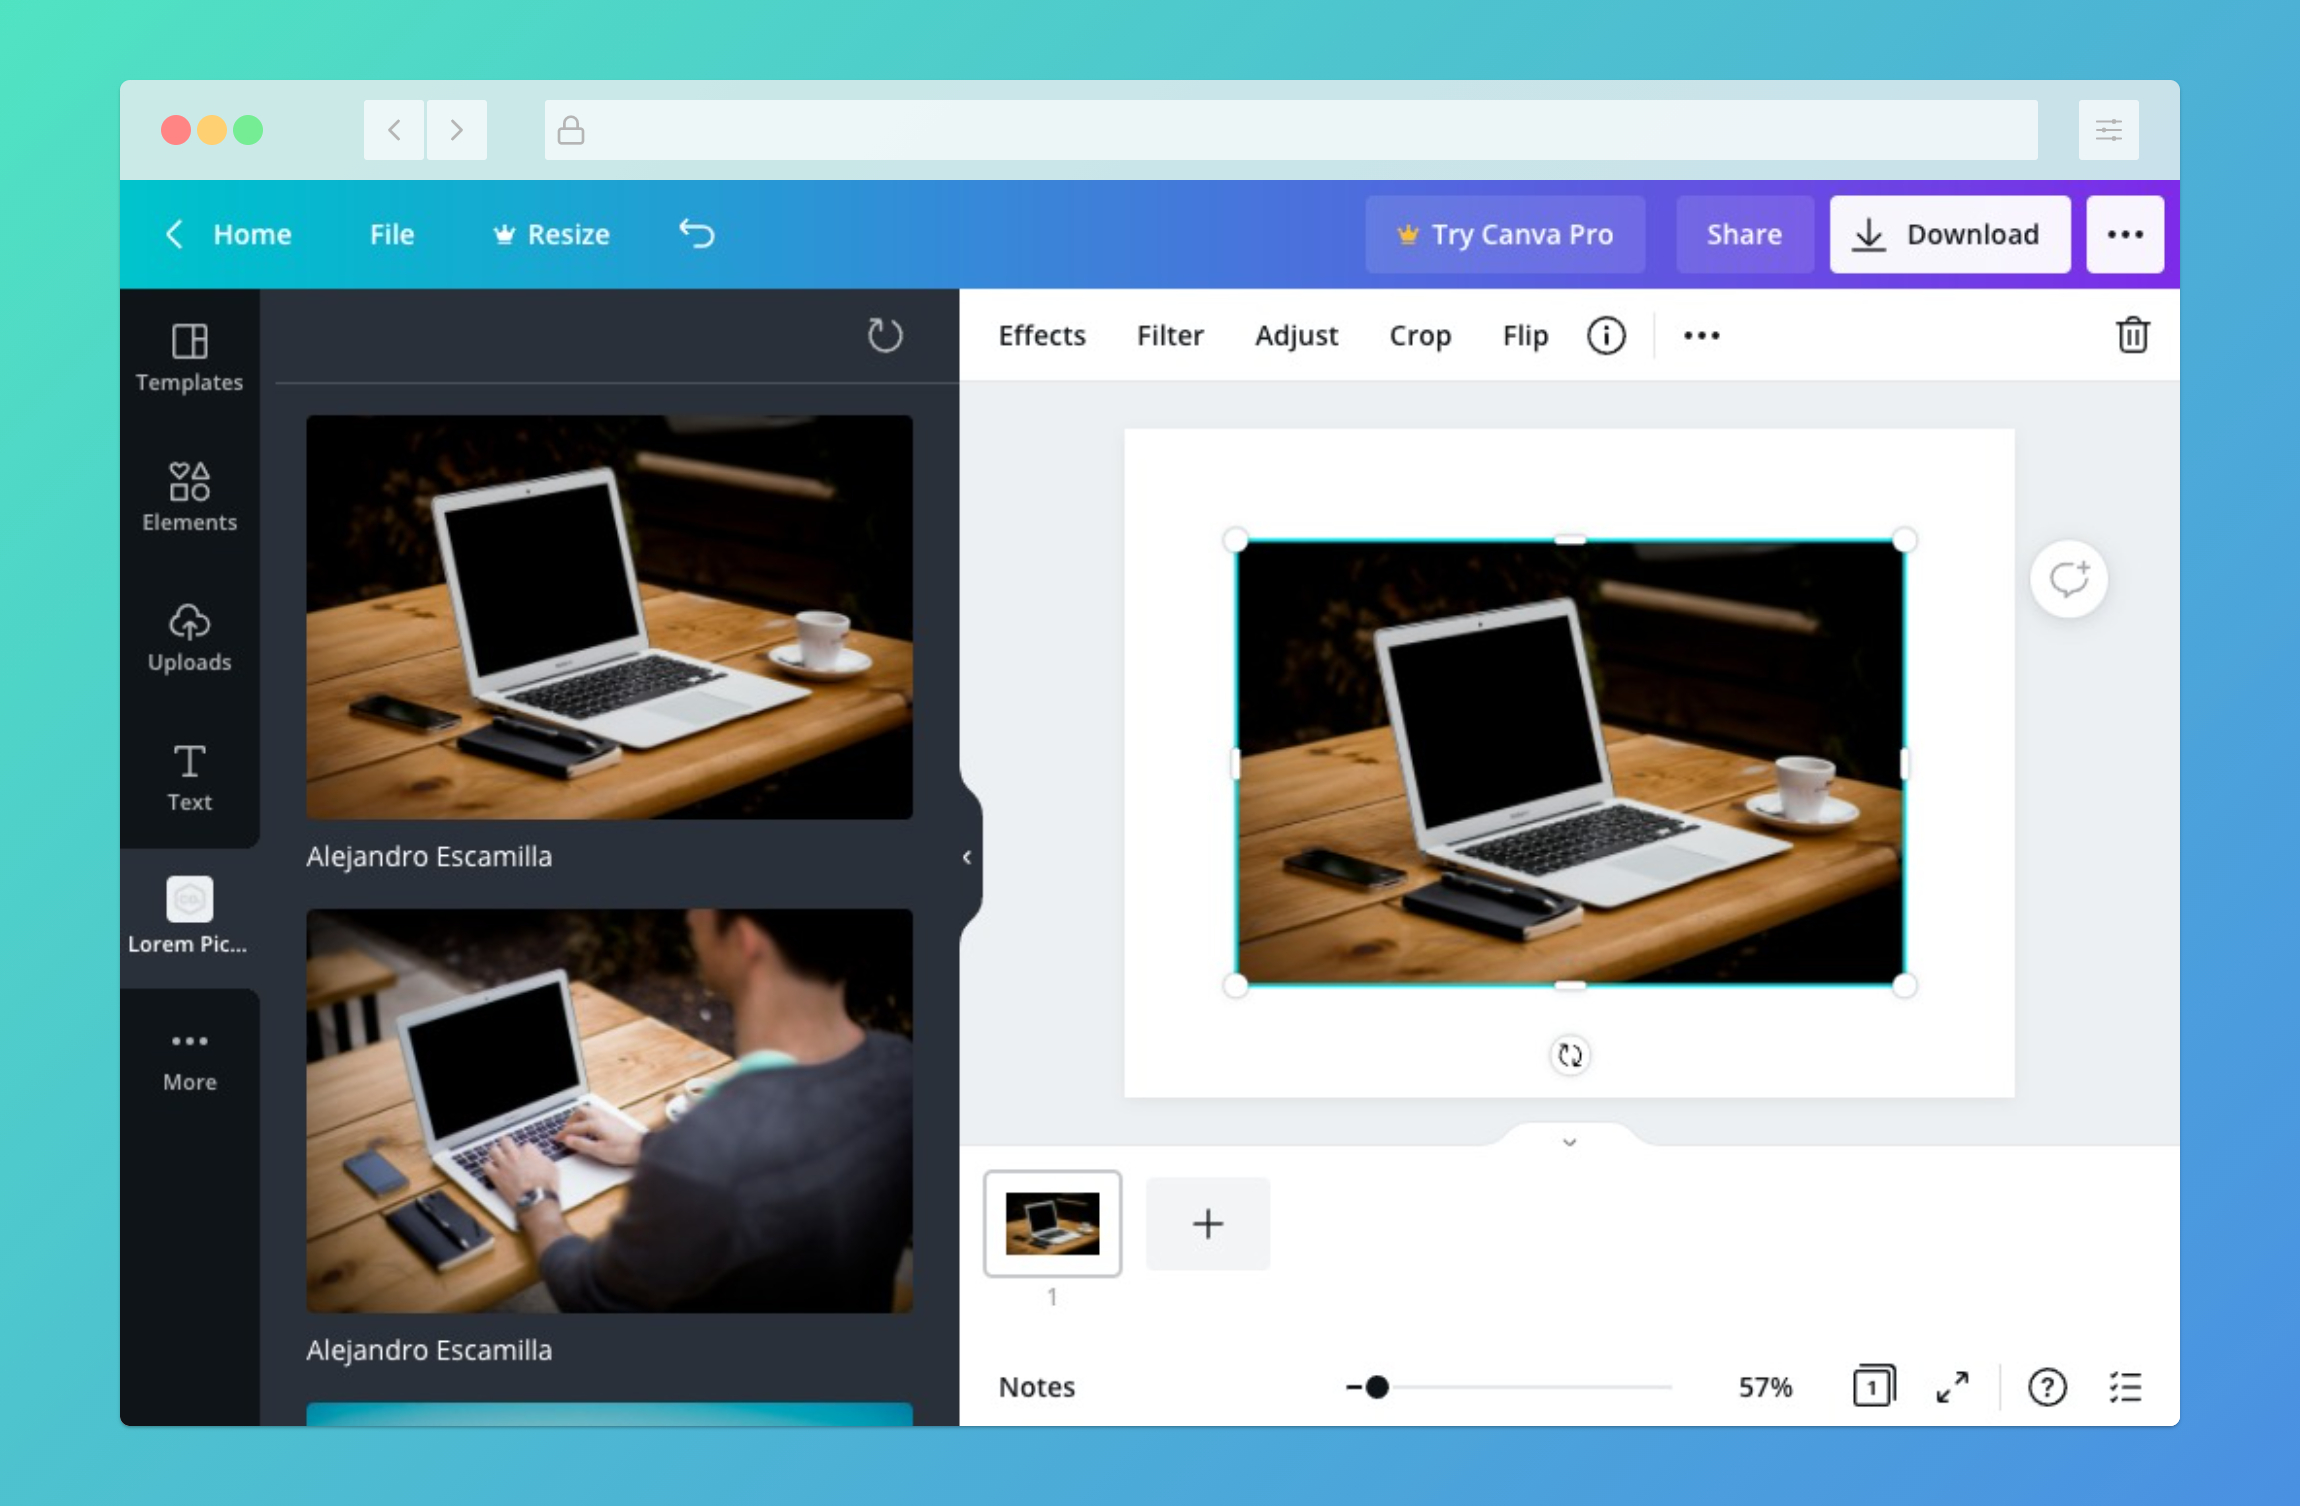
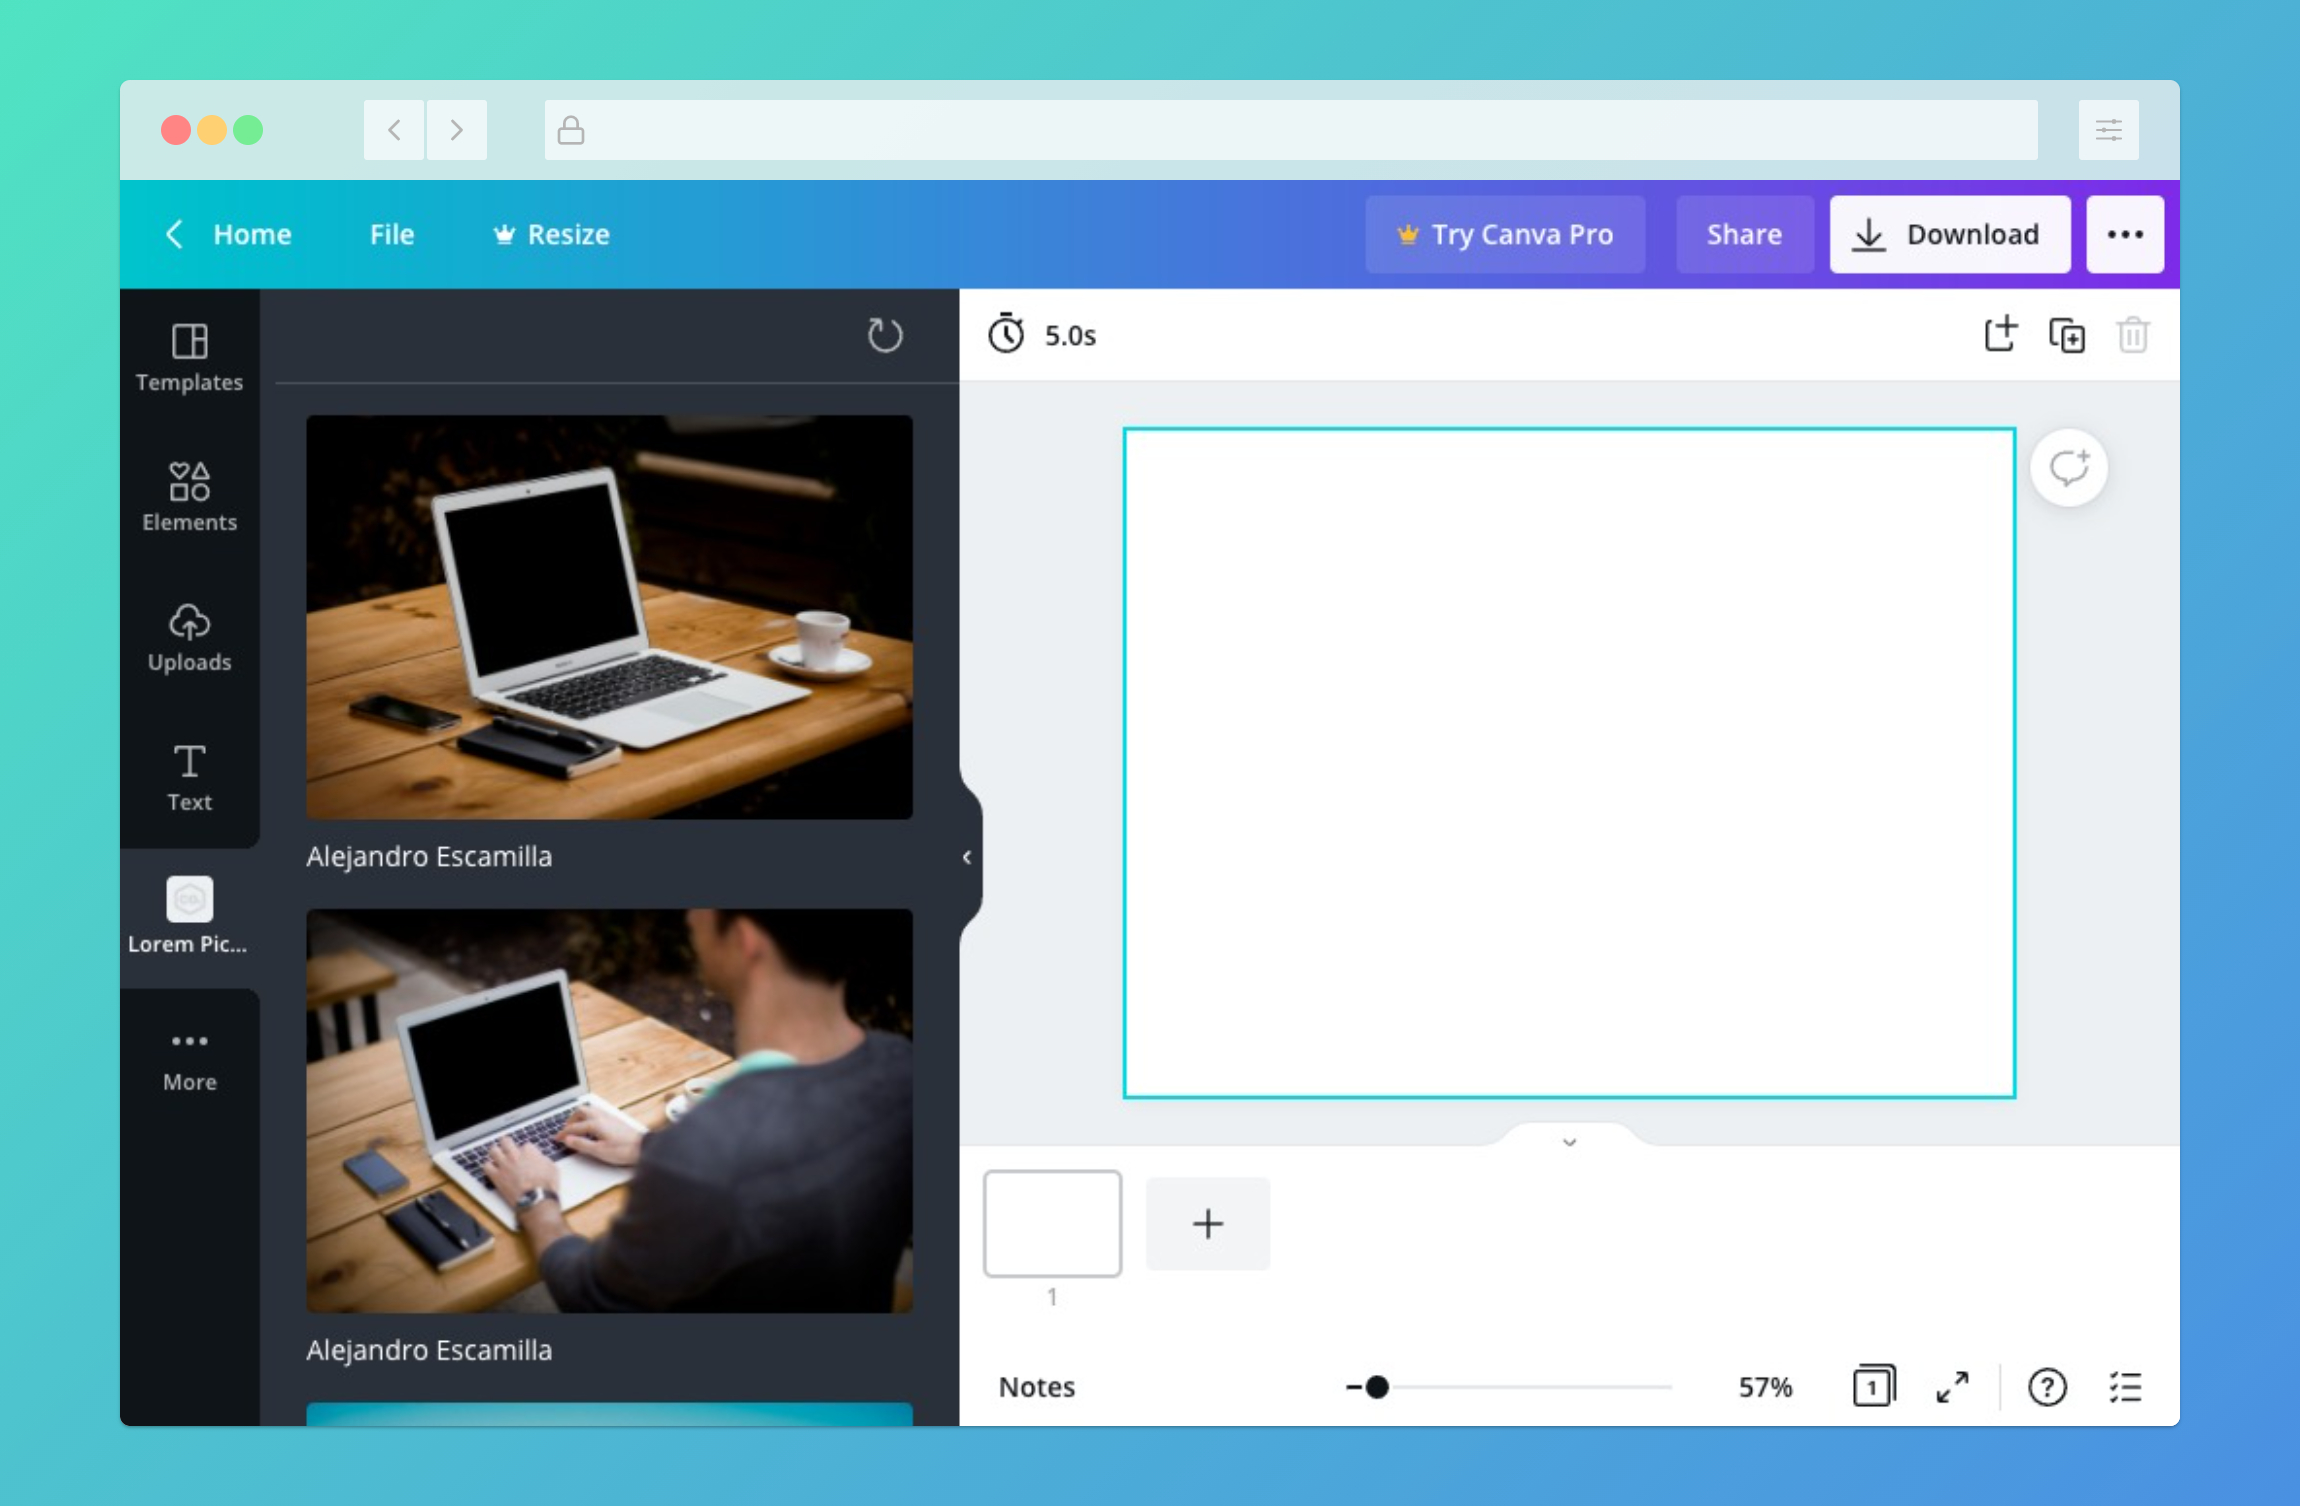
Step 4: Preview the extension in the Canva editor
- Click Preview.
- Select the extension from the dropdown list.
- Click Use.
When the extension loads, Canva sends a POST request to the following endpoint:
<base_url>/content/resources/find
This endpoint responds with an array of images, which Canva renders in the side panel.
Next steps
This guide has only scratched the surface of what's possible with content extensions.
To learn more, refer to the following guides:
You can also create a support ticket if you need additional help.
To provide users the best experience with content extensions, see UX guidelines for content extensions.
Example
const axios = require("axios");const express = require("express");const app = express();app.use(express.json());app.use(express.static("public"));app.post("/content/resources/find", async (request, response) => {// Get a list of imagesconst { data } = await axios.get("https://picsum.photos/v2/list");// Create an array of resourcesconst resources = data.map((resource) => {return {type: "IMAGE",id: resource.id, // This ID should always refer to the same piece of medianame: resource.author || resource.id,thumbnail: {url: resource.download_url,},url: resource.download_url,contentType: "image/jpeg",};});// Respond with the resourcesresponse.send({type: "SUCCESS",resources,});});app.listen(process.env.PORT || 3000);